◆ Soap
Handmade soap stamp
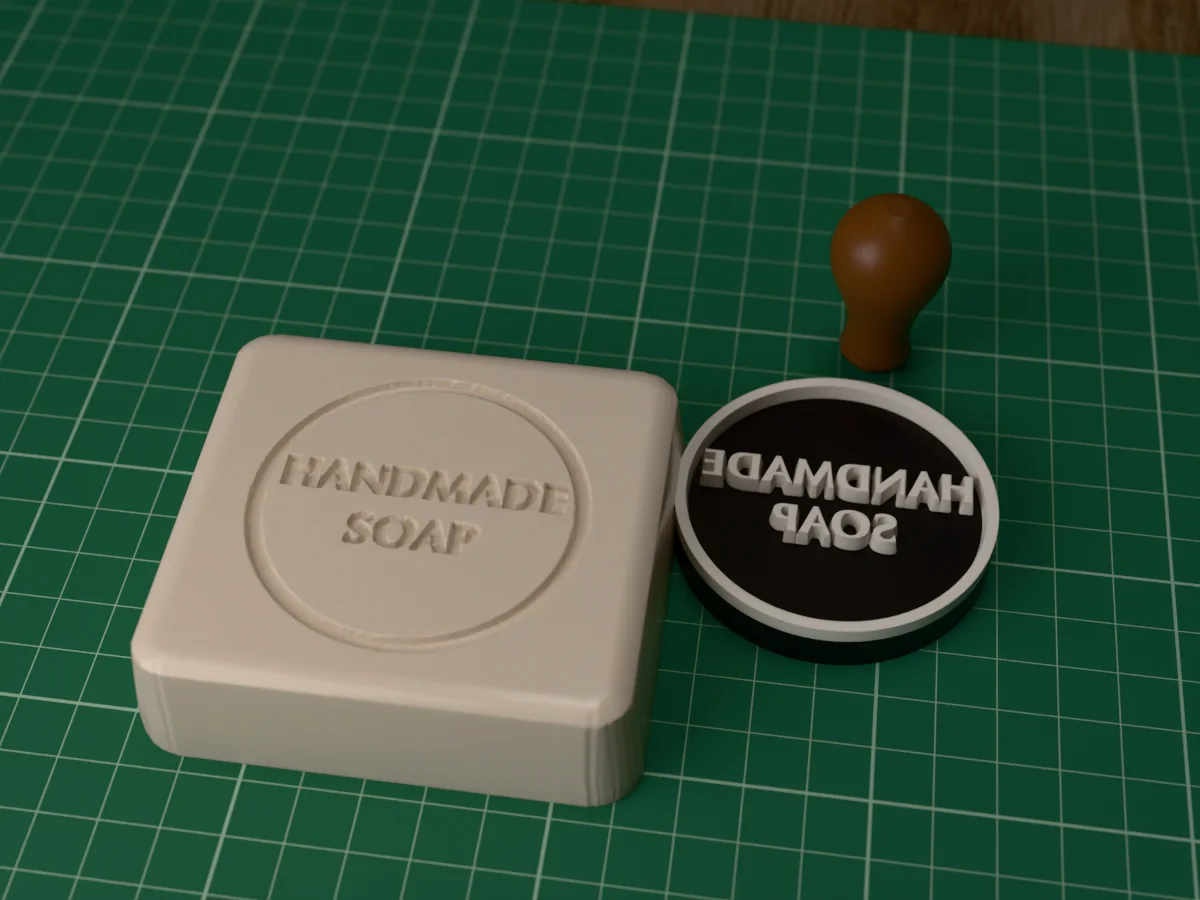
HANDMADE SOAP in a bold serif inside a ring: a deep 56 mm stamp that presses a clean mark into soap bars.
◆ Soap
HANDMADE SOAP in a bold serif inside a ring: a deep 56 mm stamp that presses a clean mark into soap bars.
HANDMADE / SOAP in a bold serif on two lines inside a thin ring, made to press into soap rather than to ink. Stamp every bar of a cold process batch after cutting, or melt and pour bars once they have set: the mark tells people at a market stall what they are holding before they read the label.
Made with our free stamp maker, not modelled by hand: we typed HANDMADE / SOAP into it, picked the circle shape at 56 mm across with a 2 mm border ring, set the relief to 3 mm, the deepest it goes, so the mark stays sharp, and left everything else at the page's defaults. The zip holds exactly what the tool gives you: a stamp plate with a 3 mm raised face and a handle that screws into its back, as one STL, and as a 3MF with the face, plate and handle as separate coloured parts. The page mirrors the face, so the mark reads the right way round, and flares every raised wall a little toward the plate, which helps the stamp let go of a bar of soap.
Shown as a 3D render of the printed stamp and the mark it presses into a bar of soap, not a photo.
Print both parts as exported: the plate face down on the bed, the handle standing on its foot, no supports.
Screw the handle into the back of the plate until it is snug.
Dust the face with cornstarch, or wipe on a thin film of oil.
Set the stamp square on the bar, press straight down firmly and evenly, and lift it straight up.
Brush soap out of the letters between bars, then rinse the stamp and let it dry.
Print details
| Works with | Soap |
|---|---|
| Printed parts | 2 |
| Size (W x D x H) | 56 x 56 x 49 mm |
| Print bed needed | 90 x 40 mm, 56 mm tall |
| Filament | ~17 g |
| Layer height | 0.2 mm |
| Infill | 15% |
| Supports | Not needed |
| Download | ZIP: stamp and handle (STL + coloured 3MF) + print sheet + README |
| Added | 2026-09-26 |
Pro early access until October 26, 2026, then free with any account.
Like it or post your print on Thingiverse
Make your own stamp →Made with the free Custom stamps generator. Upload your own shape and get the same kind of tool built from it, in your browser.
Free for personal use. Selling the pieces you cast needs a commercial licence (Pro or Founder); passing on the file itself is not permitted on any plan. Full terms.
New to casting? Read the stamp guide.
Usually 12 to 48 hours after pouring, when the loaf is cut and the bars are firm but not yet hard, about like cold butter. Too early and the soap sticks to the face; too late and it crumbles at the edges of the letters.
Dust the face with a little cornstarch, or wipe it with a thin film of oil, before every press, and pull it straight up afterwards. Brush the letters clean between bars so soap does not build up in the gaps.
PETG for the plate: soap is wet and alkaline, and PETG takes both far better than PLA. The handle never touches the soap, so PLA is fine there. Skip TPU for this one: a soft face flexes and blurs the mark in firm soap.
 SoapPro early access
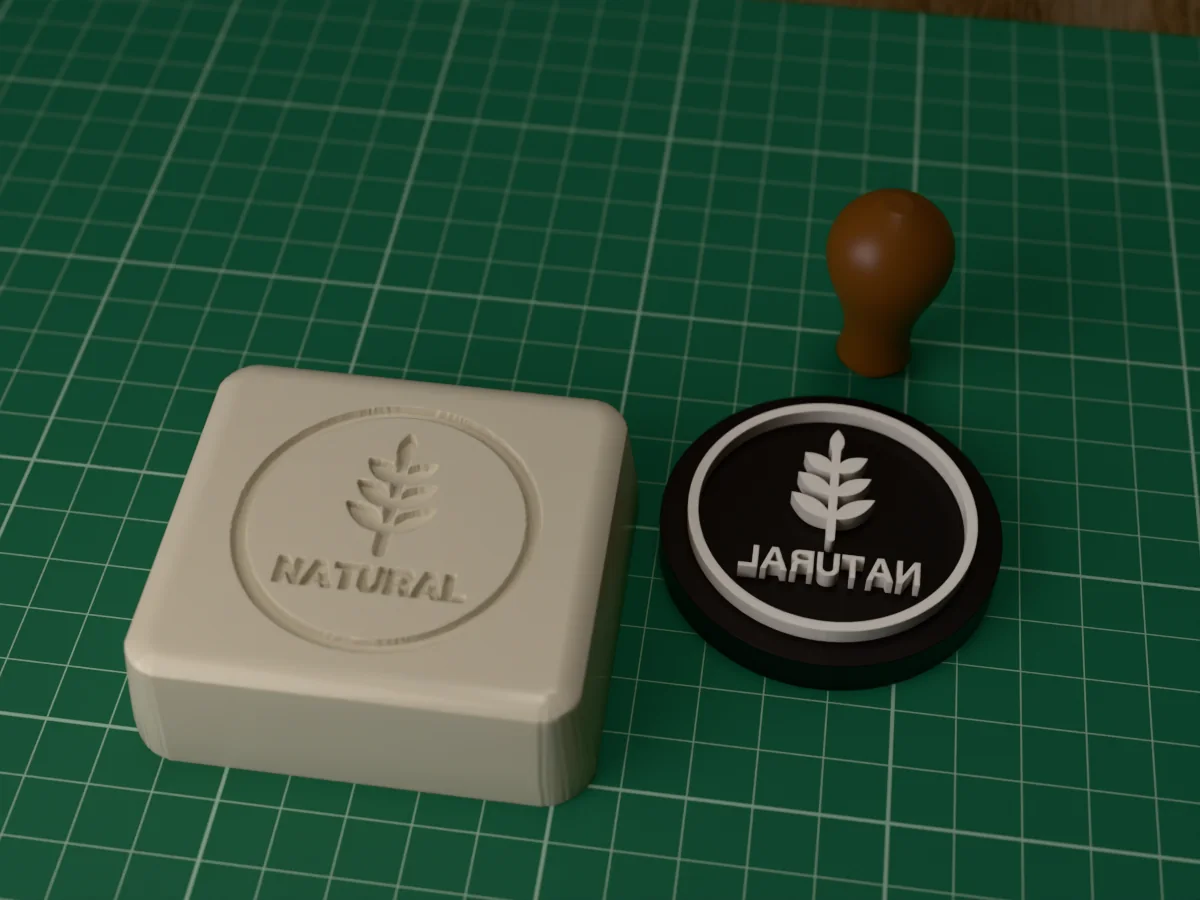
NATURAL under a leafy sprig, in a ring: a deep 56 mm stamp for natural and herbal soap bars.
 SoapPro early access
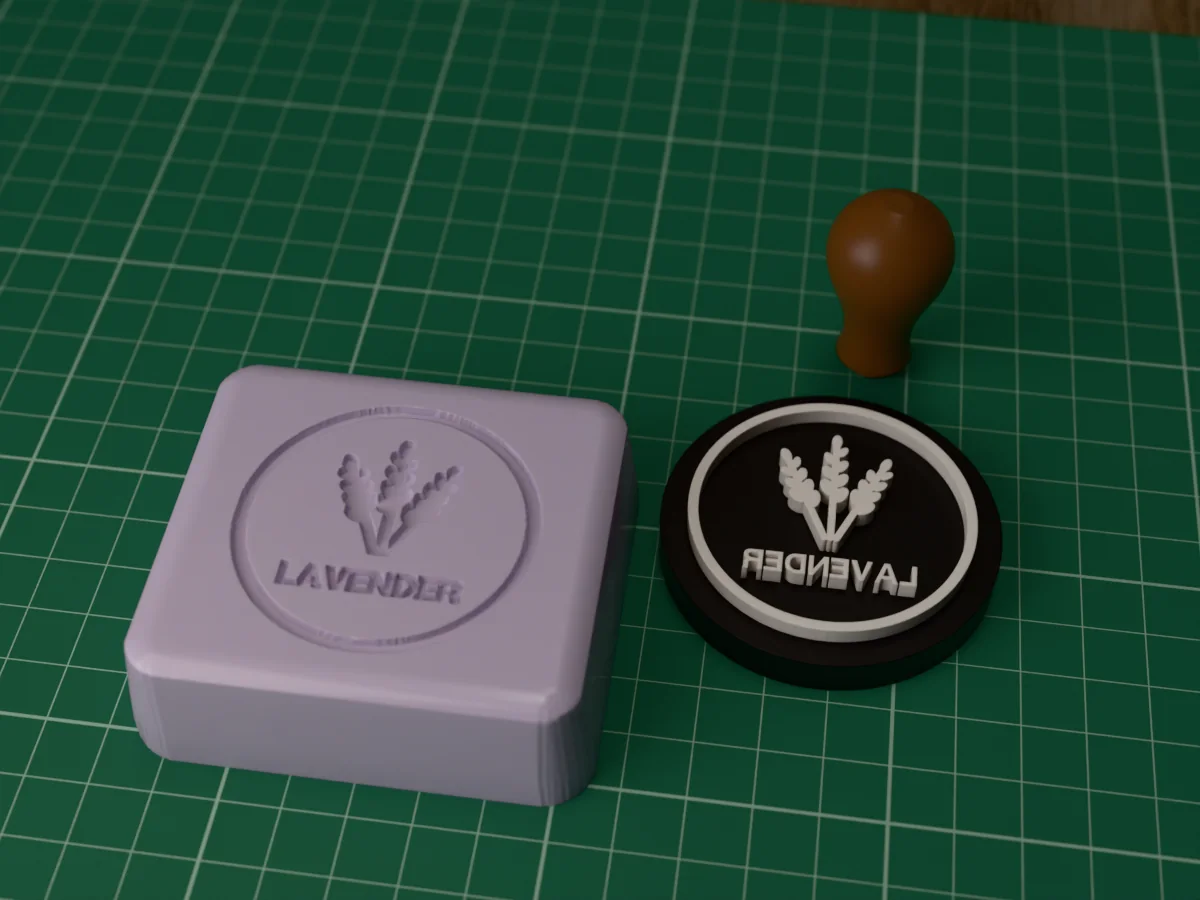
Three lavender sprigs over LAVENDER, in a ring: a deep 56 mm stamp for lavender soap and bath bars.
 SoapPro early access
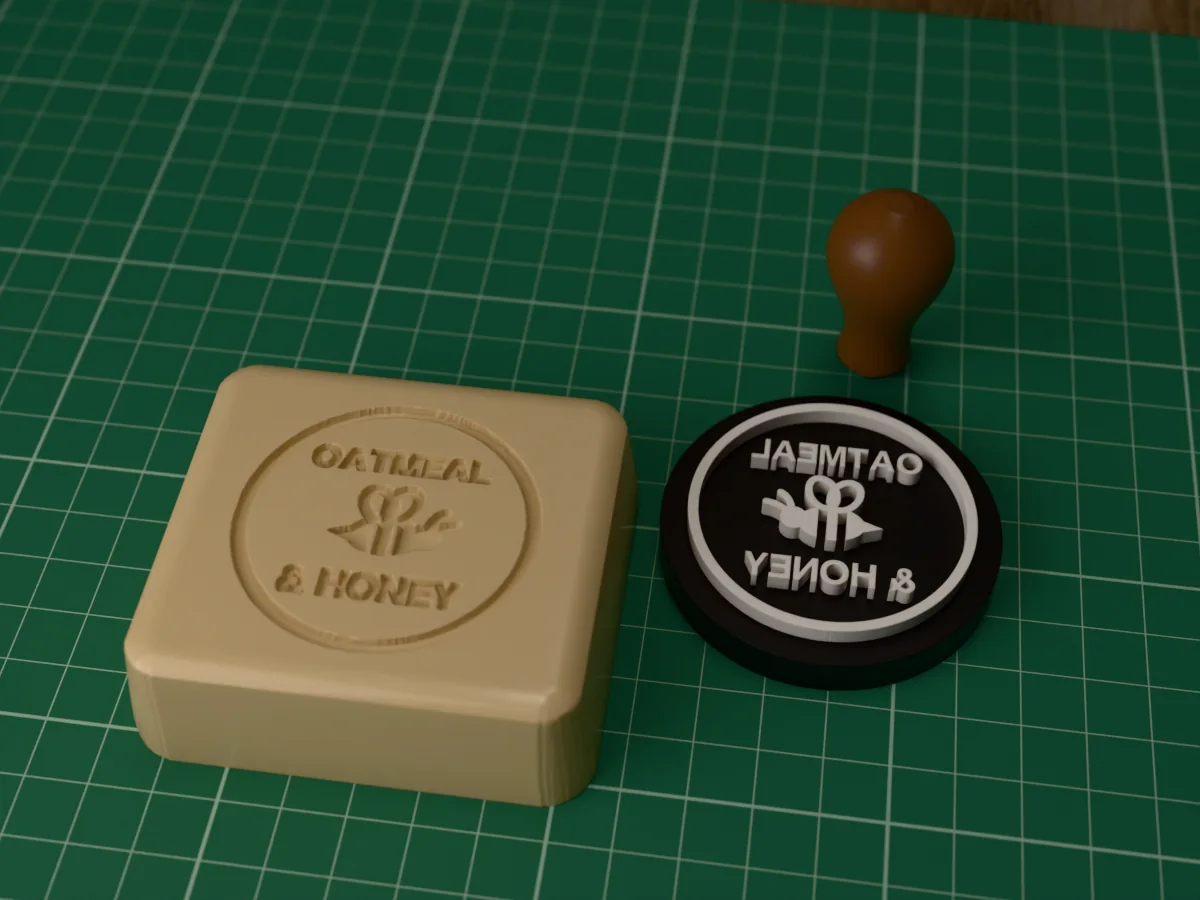
OATMEAL and & HONEY around a little bee, in a ring: a deep 56 mm stamp for oat and honey soap bars.
 SoapPro early access
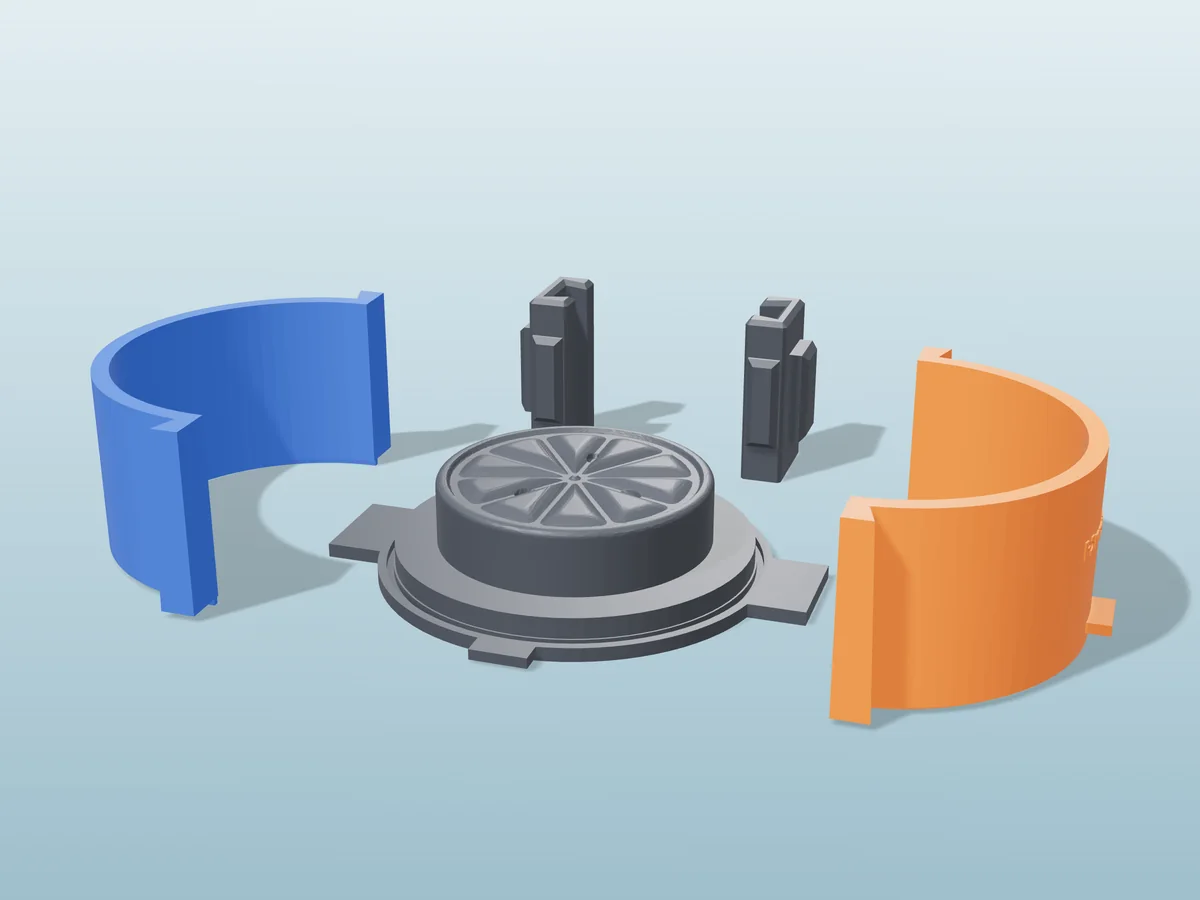
A 78 mm lemon slice soap bar with the rind, segments and pips on its face, as a silicone mold from printed parts.
 SoapPro early access
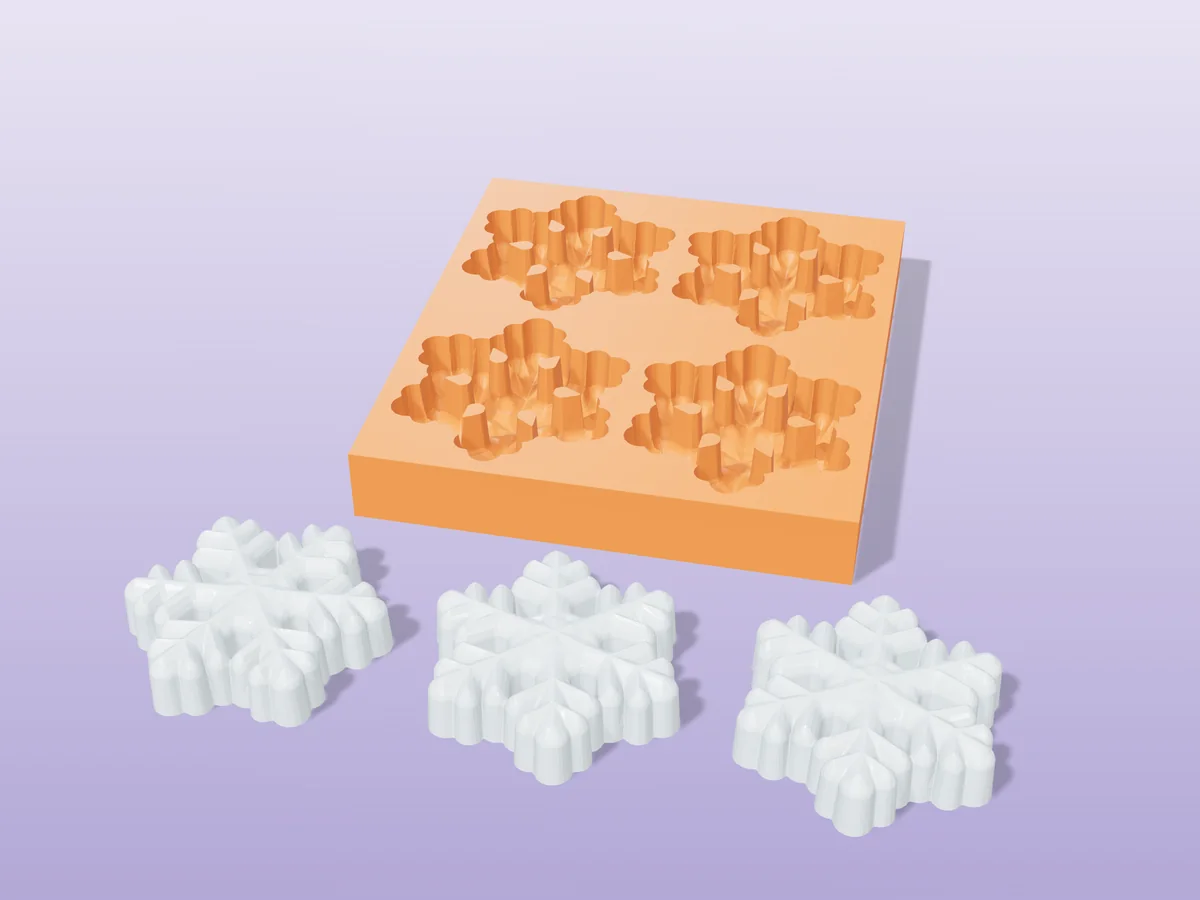
Four snowflake soaps with ridged arms and a raised centre, poured straight into a printed tray.
 SoapPro early access
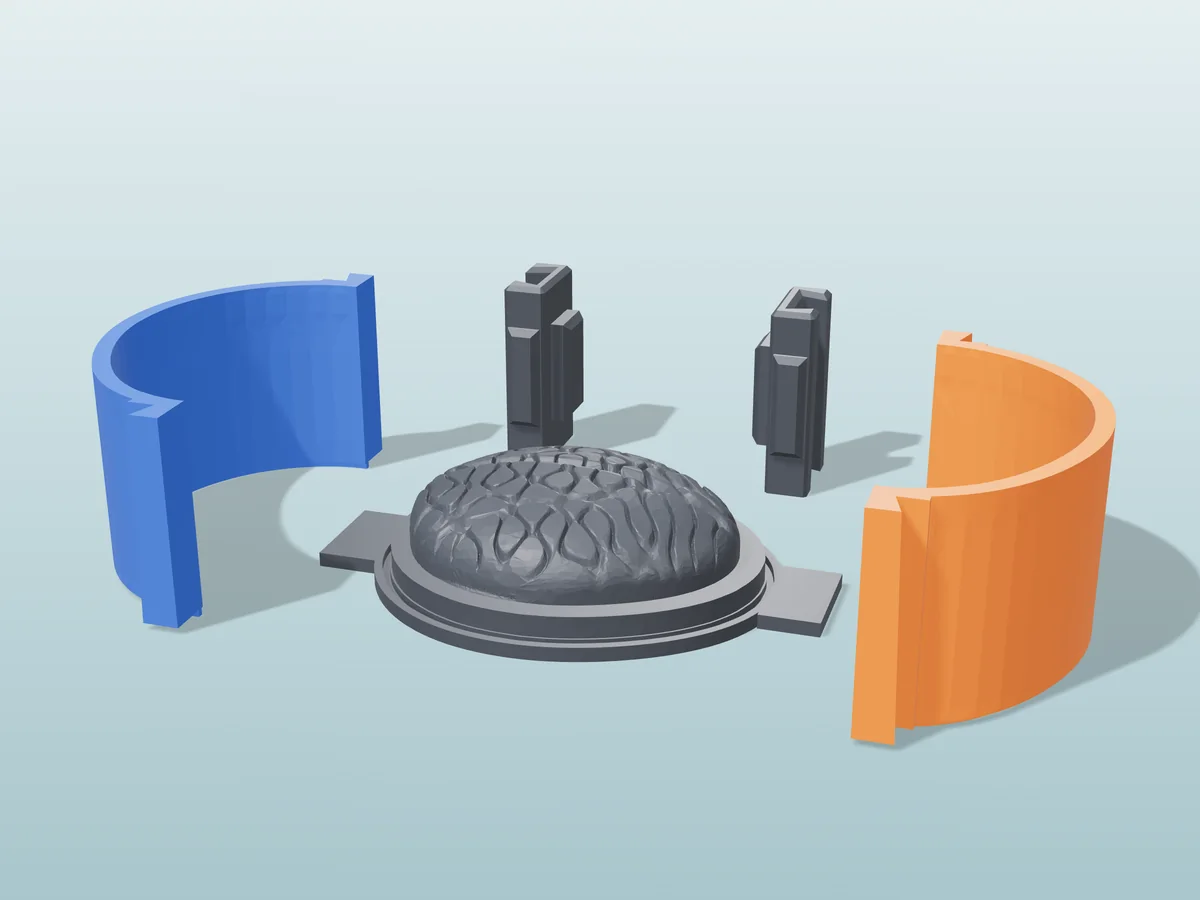
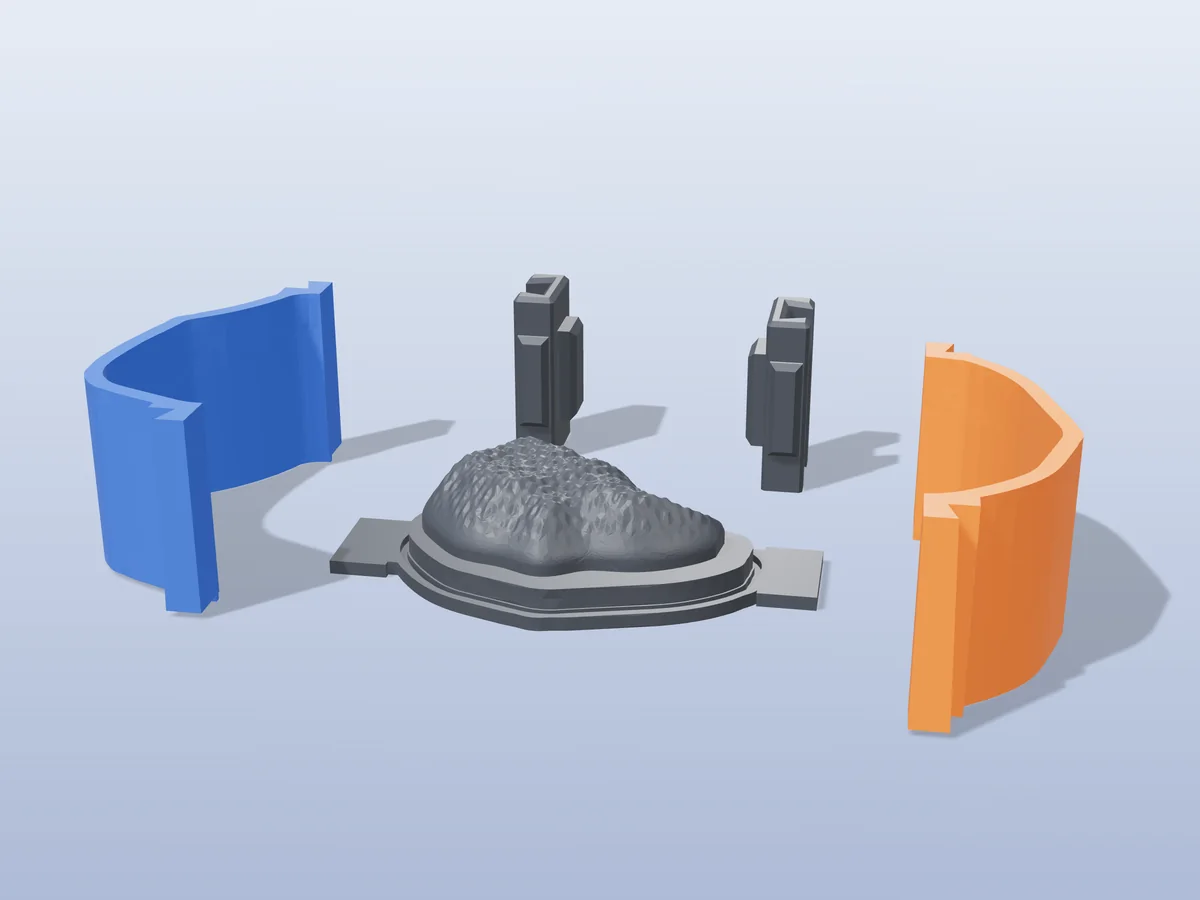
A brain-shaped soap bar for a proper brainwash: 90 mm, folds and all, as a silicone mold from printed parts.
 SoapPro early access
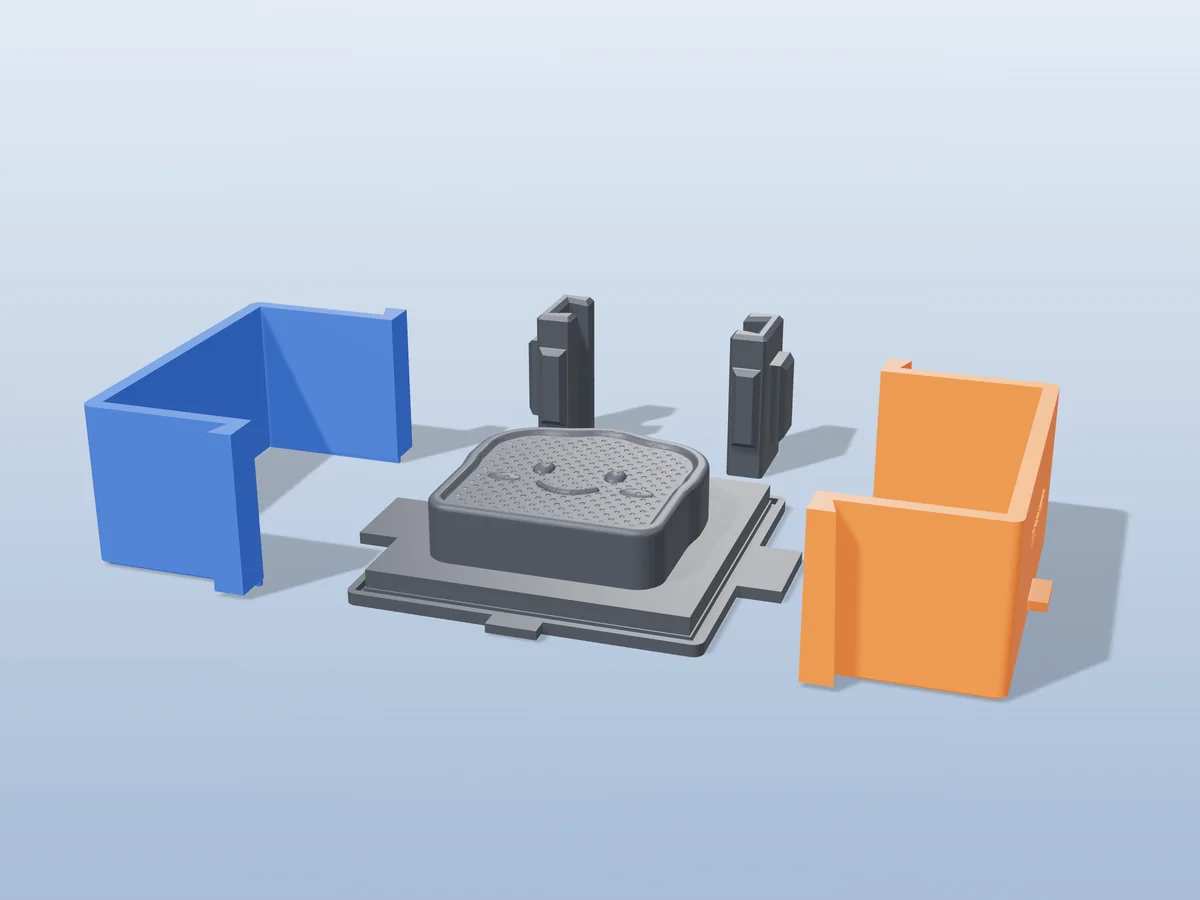
A slice of toast that smiles back: an 80 mm soap bar with crust, eyes and rosy cheeks, from a silicone mold you print.
 SoapPro early access
A giant chicken nugget with a bite taken out, as an 87 mm soap bar from a silicone mold you print.