◆ Candle wax
Ribbed pillar candle mold
An 85 mm pillar with 16 rounded flutes, as a silicone mold from a printed shell.
◆ Candle wax
An 85 mm pillar with 16 rounded flutes, as a silicone mold from a printed shell.
A fluted pillar candle 85 mm tall and about 62 mm across, with 16 rounded ribs and a gentle taper. The ribs catch the light in stripes and hide the small marks every pour leaves.
Made with the hugging-shell mode of our silicone mold maker, which the site's own mold advisor recommends for this shape: the flutes at the sides of any split would lock a rigid two-part mold, and silicone simply peels off them. Print the base with the pillar fused onto it and a two-part shell, pour about 279 ml of silicone, and cast in the flexible mold that comes out.
The zip carries every printed part, the pillar master as its own STL, the tool's own print-settings sheet and a recipe file for the generator.
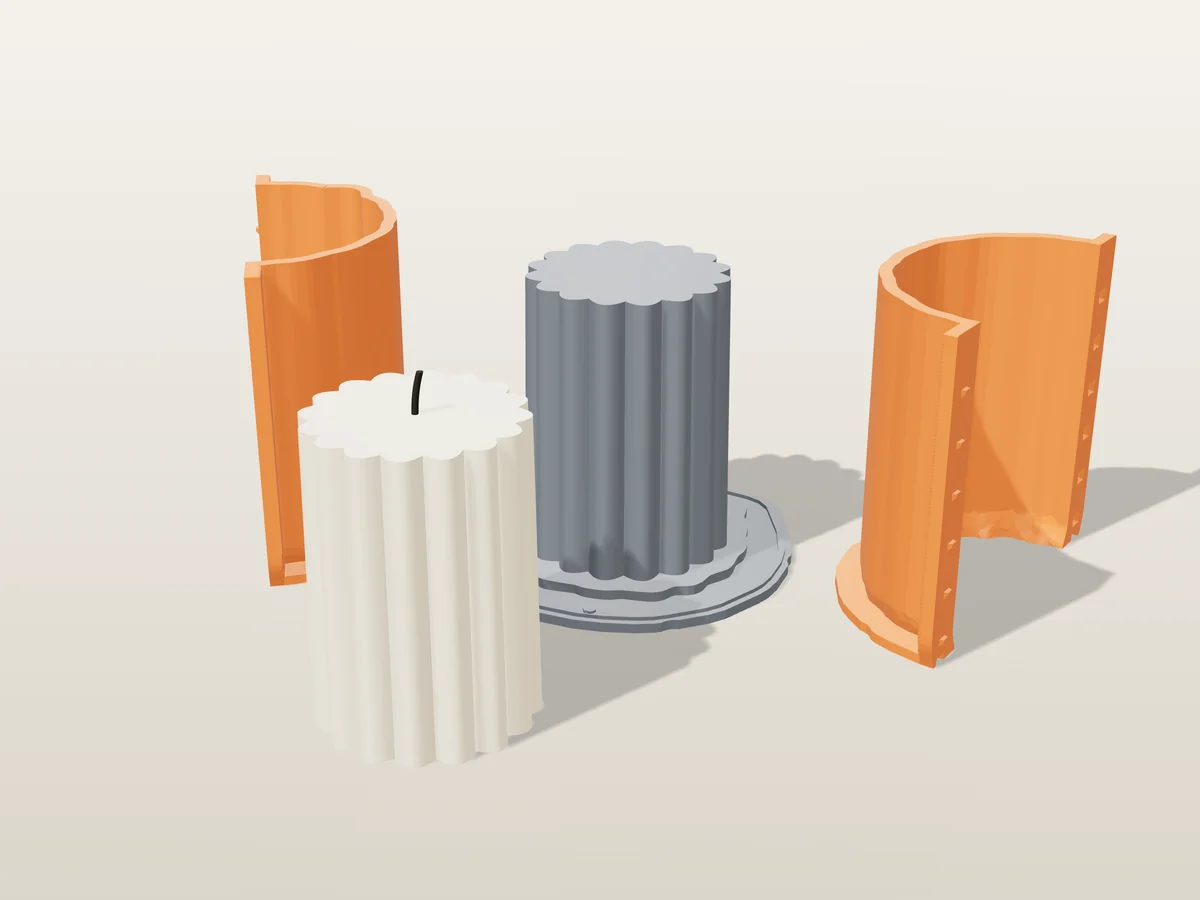
Shown as a 3D render of the printed mold parts pulled apart around the master, not a photo.
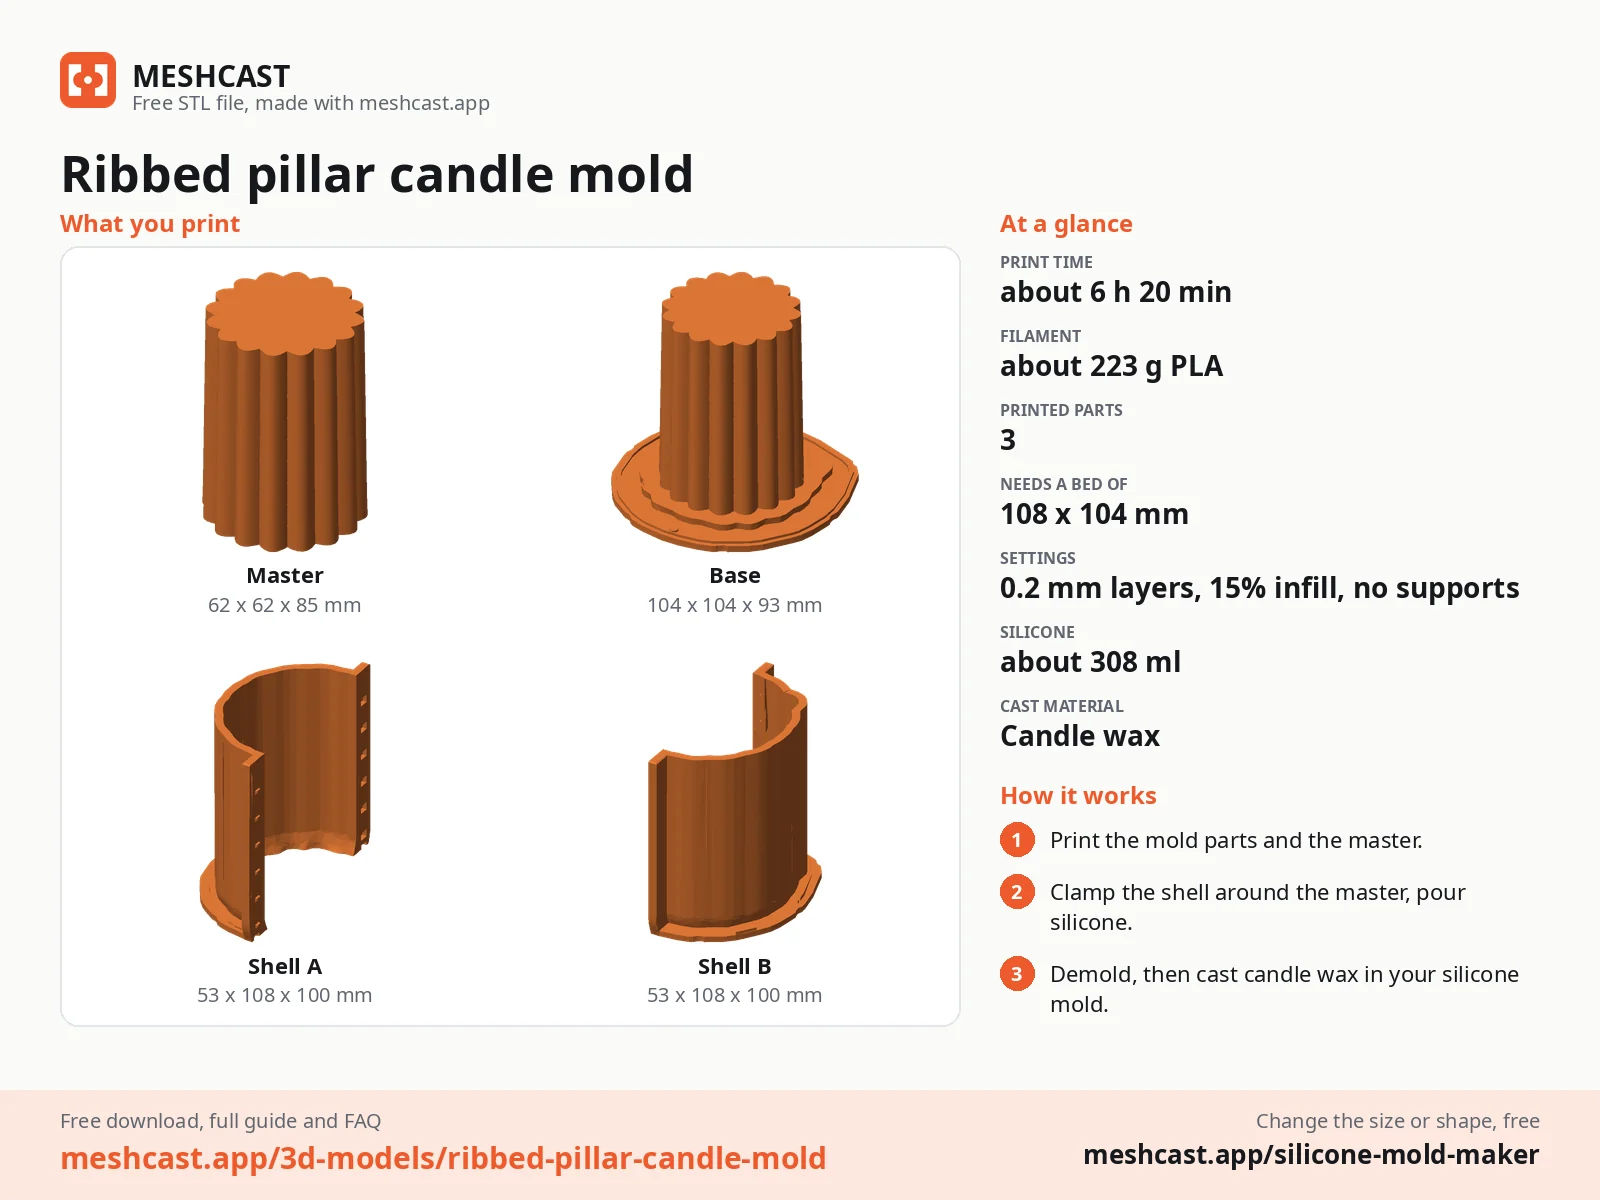
Print the base, which has the master already fused onto it, and the two shell halves. No supports.
Stand the shell halves on the base around the master and hold the seams shut with steel binder clips. The seats for them are built into the shell.
Tape the outside seams or run a bead of hot glue along them, because silicone finds every gap.
Mix 308 ml of silicone in one batch, pour it into the open top in a thin stream, and fill level with the rim.
Once it has cured, unclip the shell, lift it off and peel the silicone off the master. That silicone is your mold.
Set the silicone back in the shell to keep its shape, and cast into it through the opening the base left.
Print details
| Cast material | Candle wax |
|---|---|
| Printed parts | 3 |
| Size (W x D x H) | 106 x 108 x 100 mm |
| Print bed needed | 108 x 104 mm, 100 mm tall |
| Filament | ~223 g |
| Layer height | 0.2 mm |
| Infill | 15% |
| Supports | Not needed |
| Download | ZIP: 3 printed parts (STL) + candle master (STL) + print sheet + recipe |
| Added | 2026-09-24 |
Made with the free Silicone mold maker generator. Upload your own model and get the same kind of mold built around it, in your browser.
Free download. Opens the Thingiverse listing in a new tab.
Free for personal use. Selling the pieces you cast needs a commercial licence (Pro or Founder); passing on the file itself is not permitted on any plan. Full terms.
New to casting? Read the silicone mold maker guide.
Because of the flutes. Split a fluted pillar down the middle and the ribs at the sides of the split hook into both halves, so a rigid mold cannot open. Silicone flexes out of every rib.
About 279 ml, so mix 308 ml in one batch. The tool's print-settings sheet in the zip has the full figures.
Silicone copies whatever is on the master, layer lines included. Print the base at 0.2 mm or finer, and sand or coat the pillar before you pour the silicone if you want a glassy finish.
 Candle wax
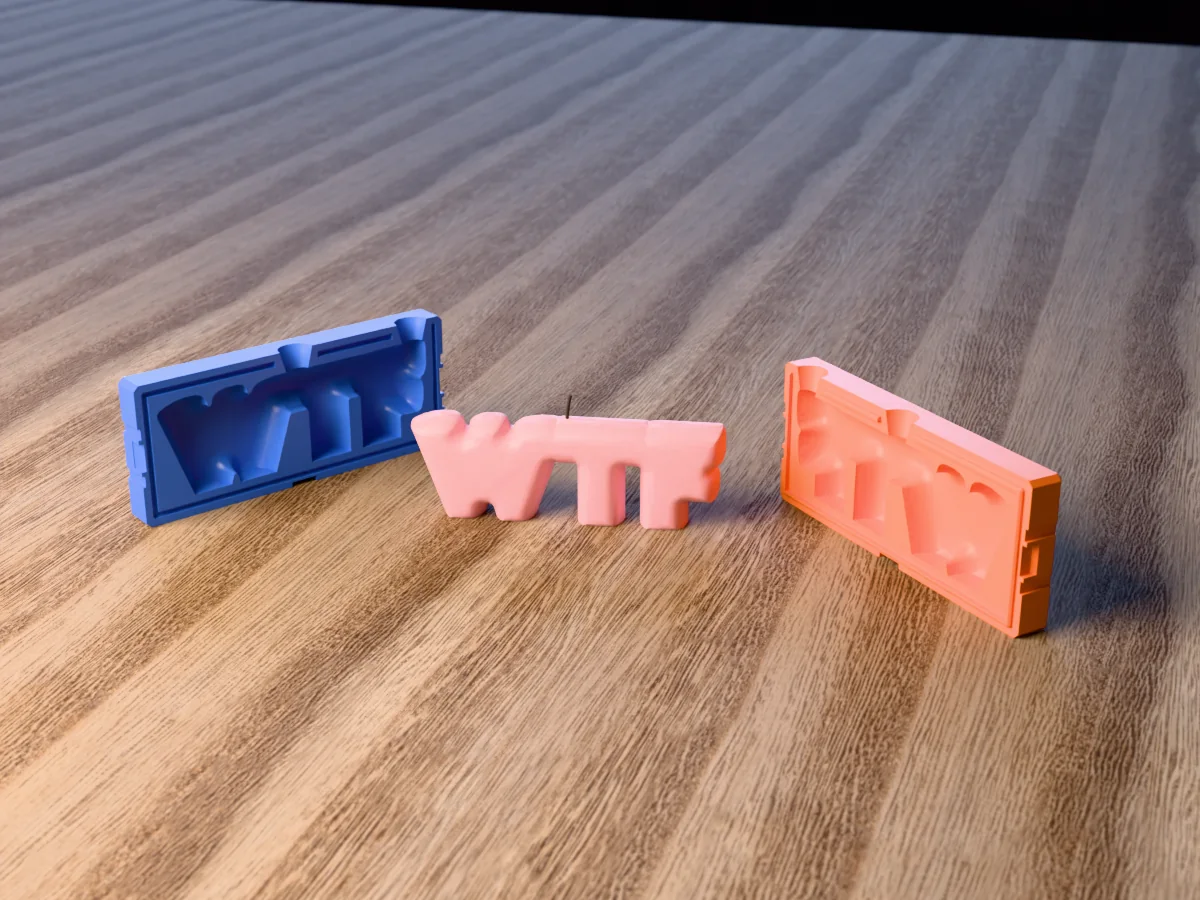
A puffy "WTF" bubble letter candle, 150 mm long, from a rigid two-part print. Two wicks, no silicone.
 Candle wax
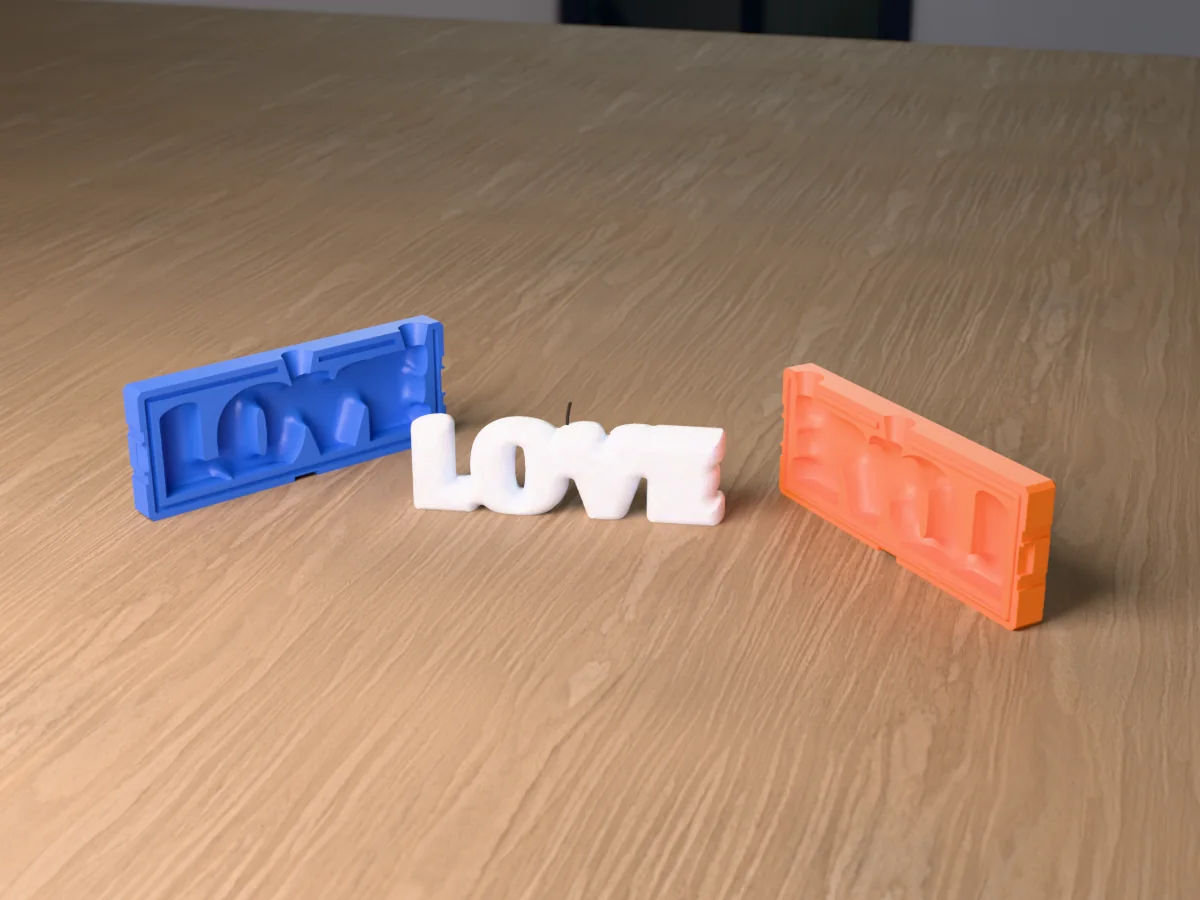
A puffy "LOVE" bubble letter candle, 160 mm long, from a rigid two-part print. Two wicks, no silicone.
 Candle wax
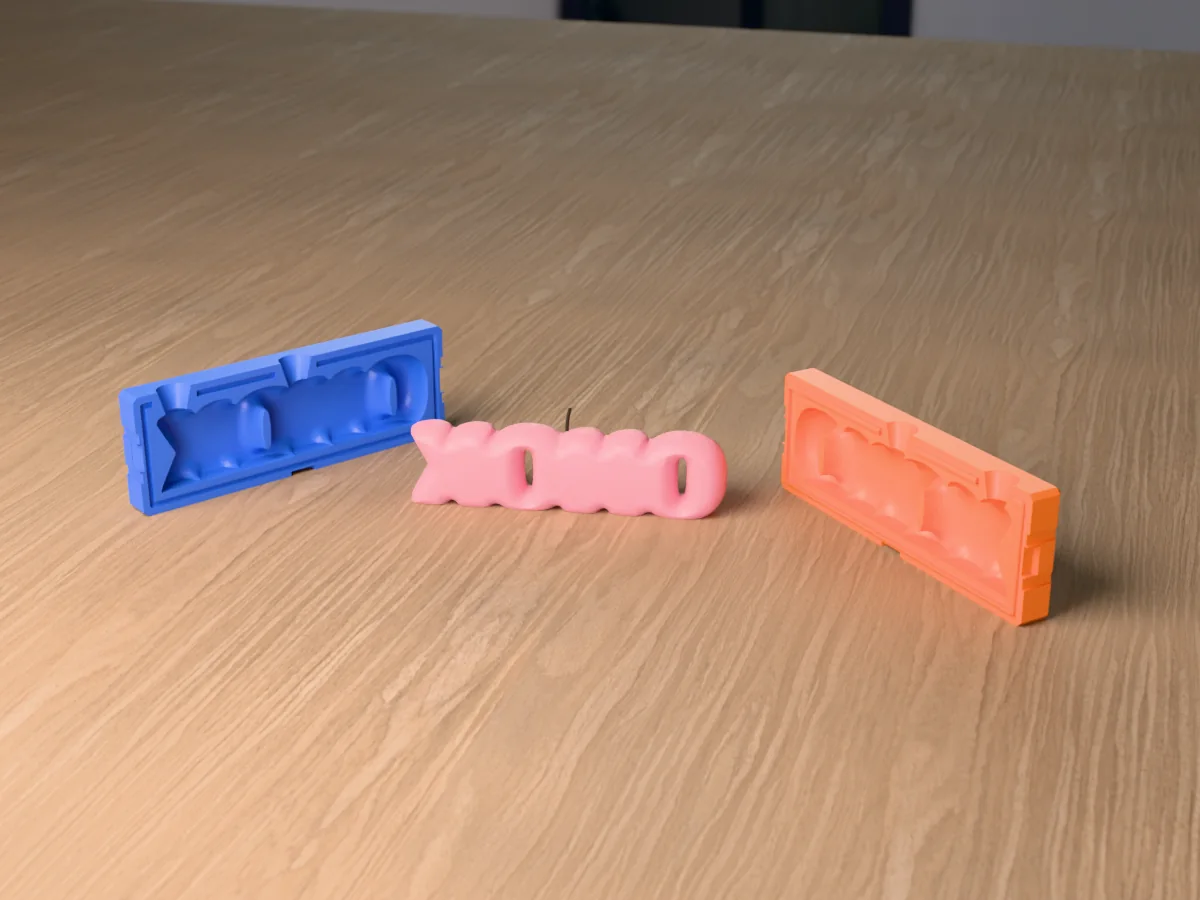
A puffy "XOXO" bubble letter candle, 160 mm long, from a rigid two-part print. Two wicks, no silicone.
 Candle wax
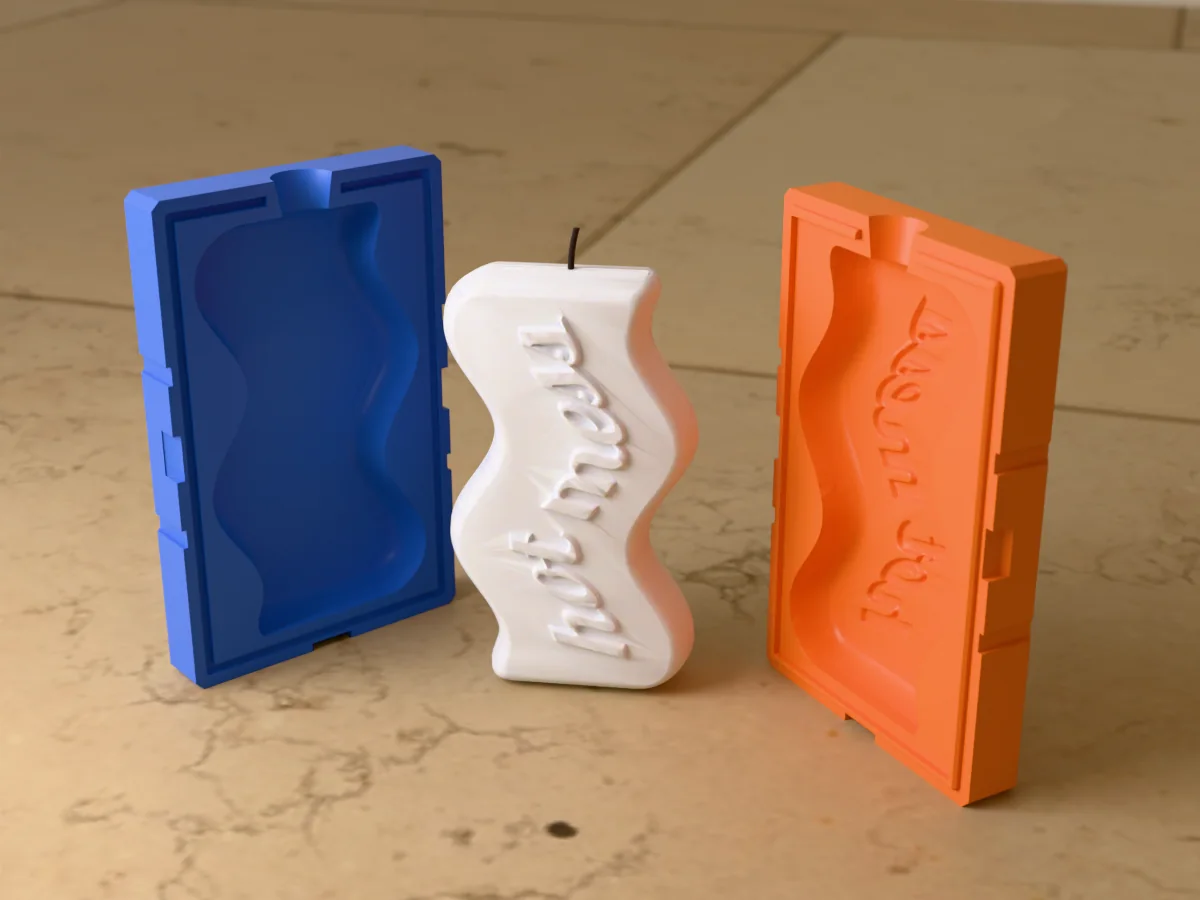
A tall wavy candle with "hot mess" in raised script running up the front. A rigid two-part print, no silicone.
 Candle wax
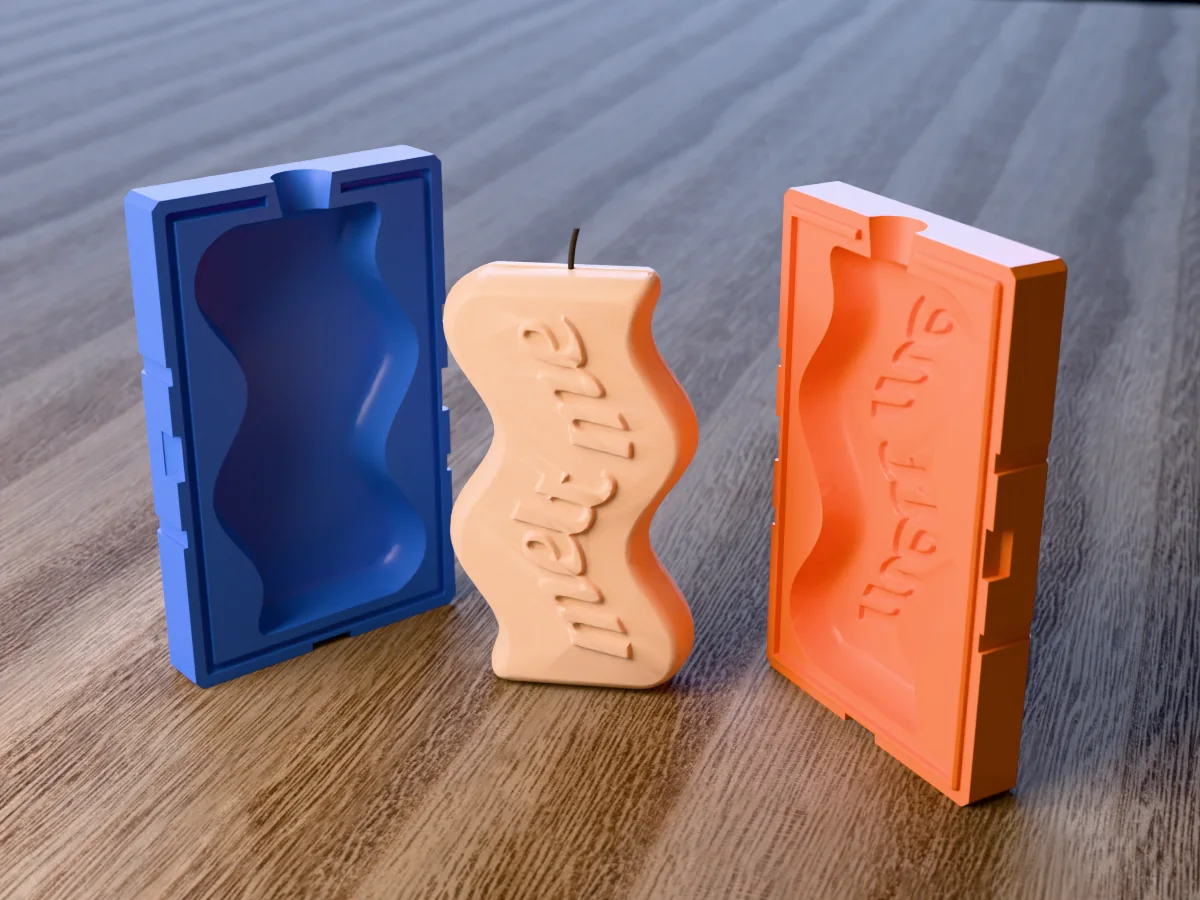
A tall wavy candle with "melt me" in raised script running up the front. A rigid two-part print, no silicone.
 Candle wax
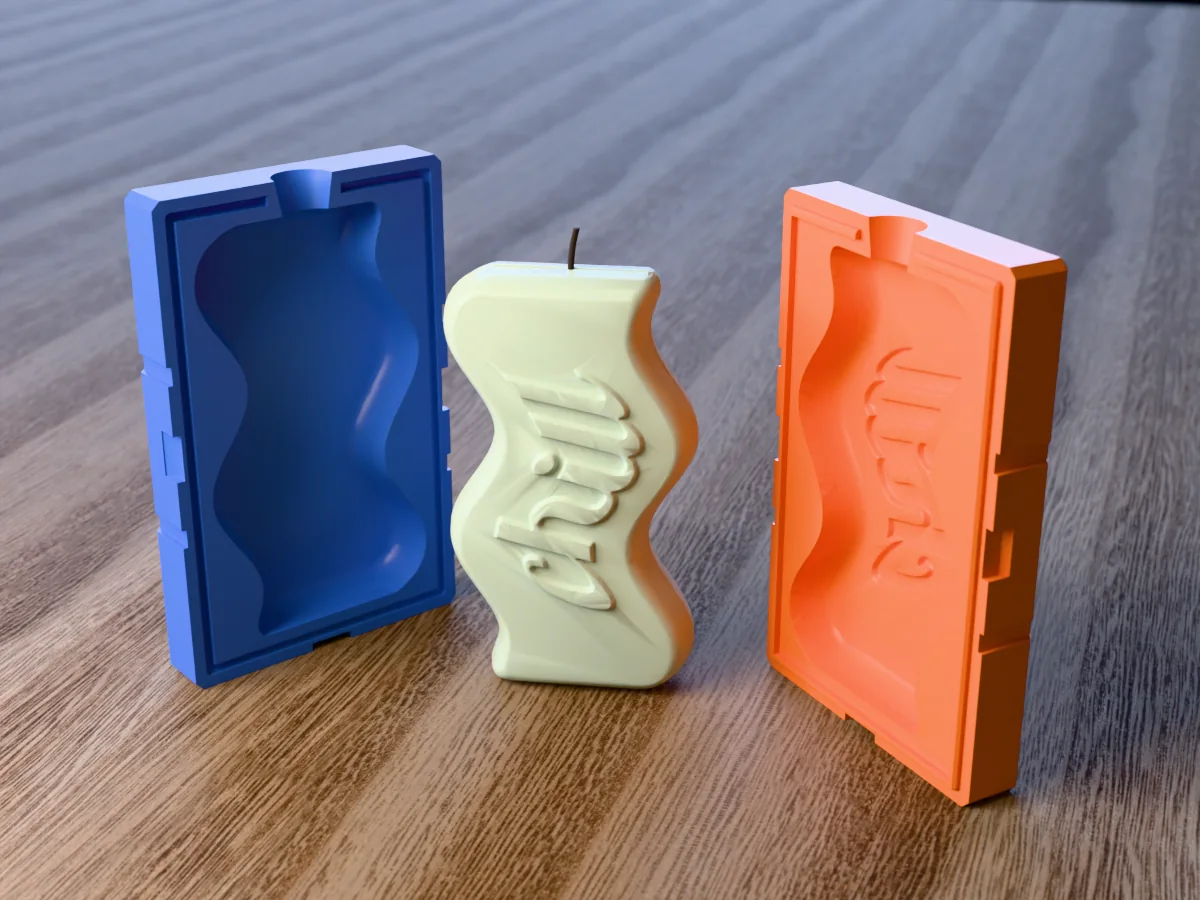
A tall wavy candle with "chill" in raised script running up the front. A rigid two-part print, no silicone.
 Candle wax
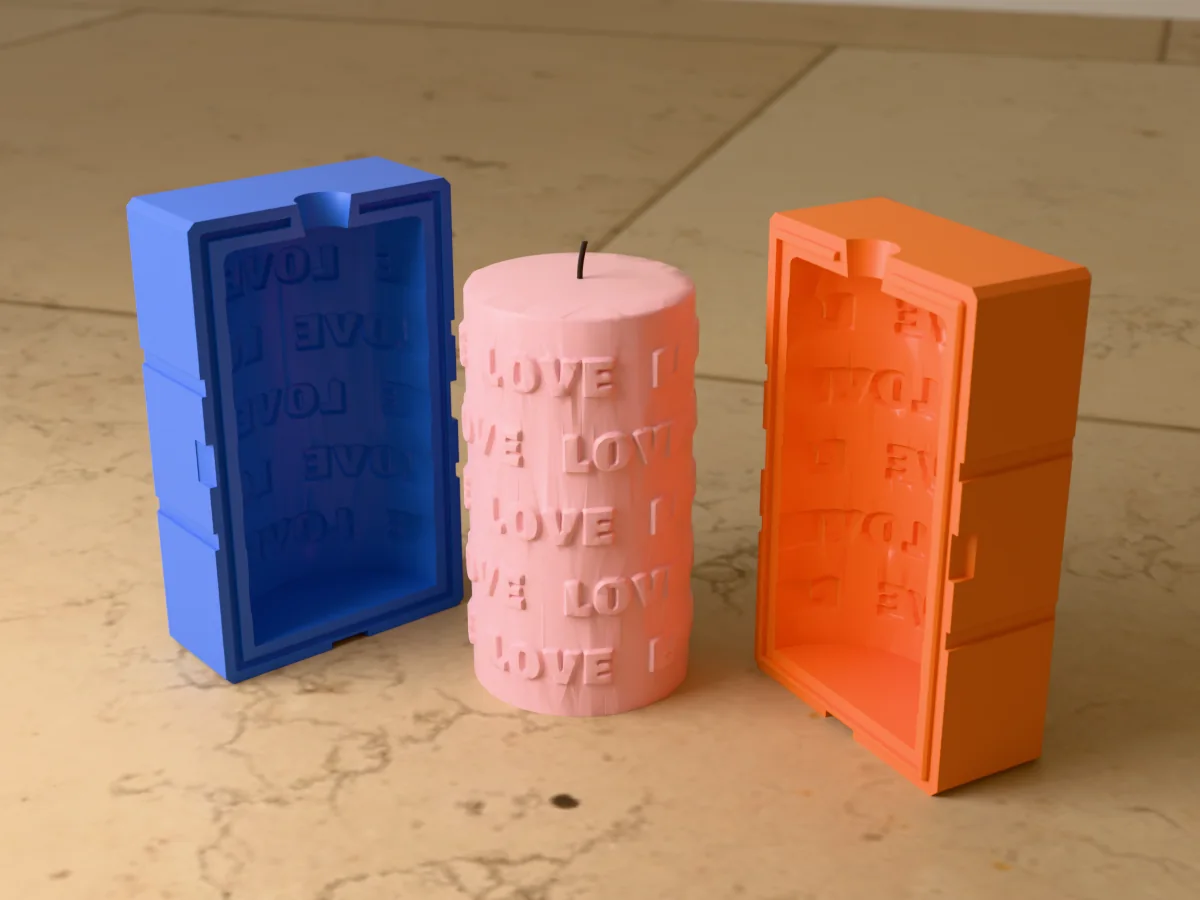
A 70 x 130 mm pillar candle with "LOVE" in raised letters in rows all round it. A rigid two-part print, no silicone.
 Candle wax
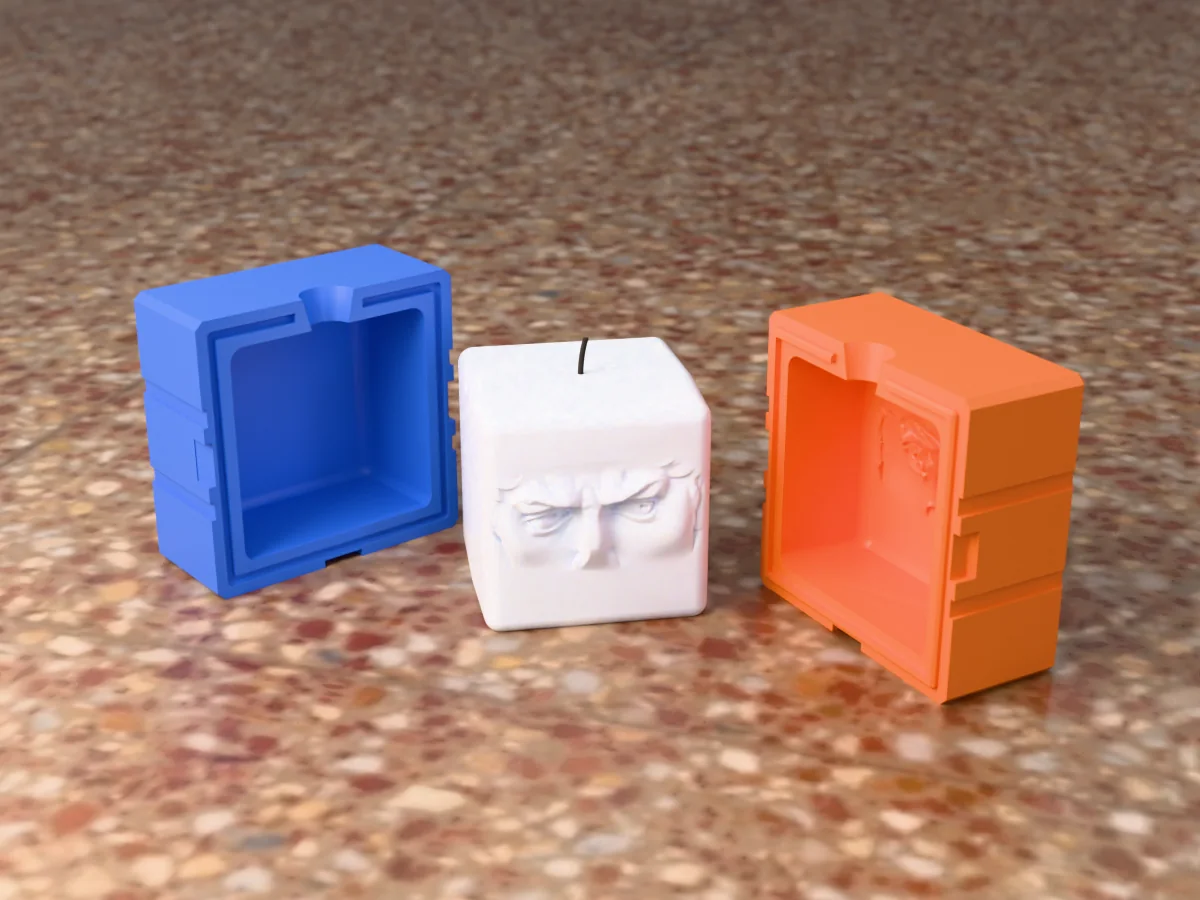
A 70 mm cube candle carrying the eyes of Michelangelo's David, from a museum scan. A rigid two-part print, no silicone.