◆ Candle wax
Teddy bear candle mold
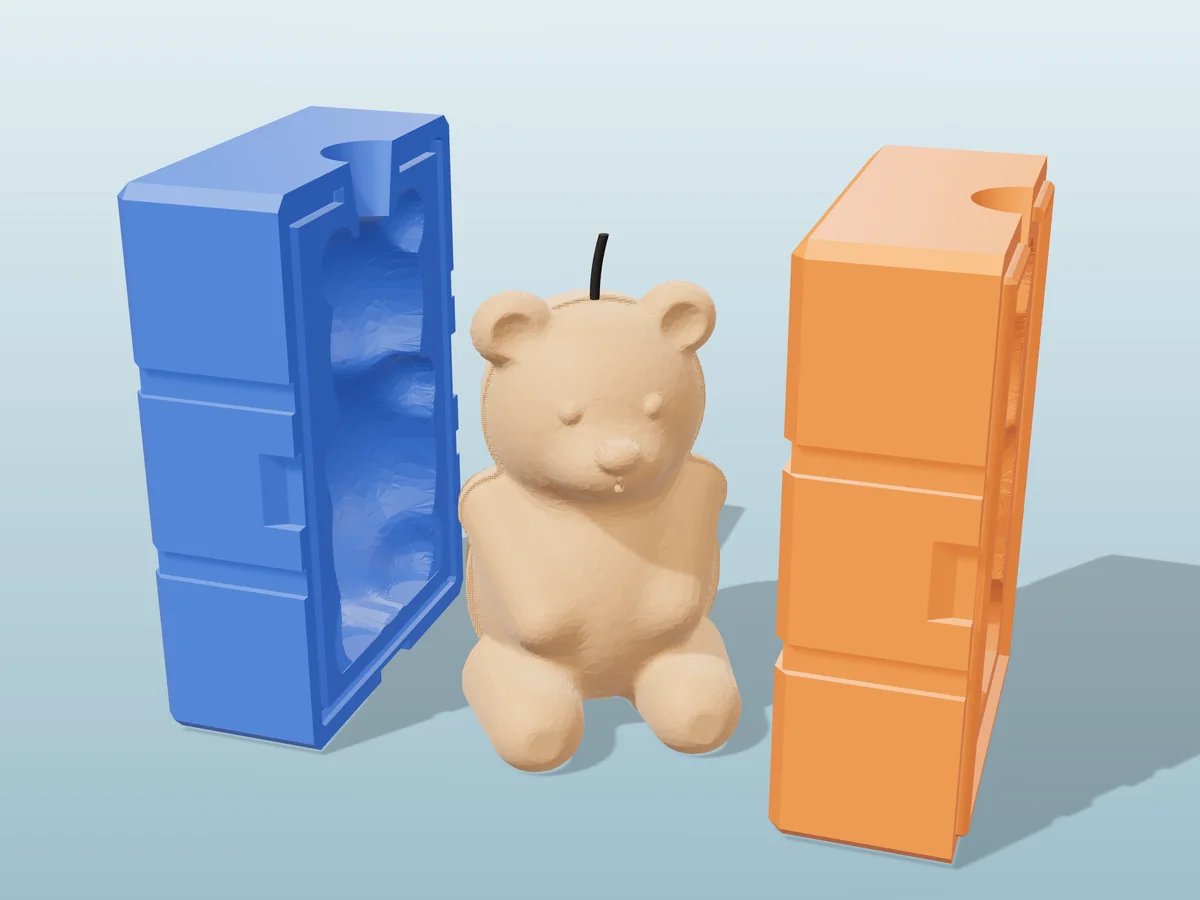
A sitting teddy bear with button eyes, a ribbon bow and its paws on its tummy. A rigid two-part print.
◆ Candle wax
A sitting teddy bear with button eyes, a ribbon bow and its paws on its tummy. A rigid two-part print.
A teddy bear candle 84 mm tall: a round head with button eyes, a rounded snout with a little nose and a smile, round cupped ears, a ribbon bow under its chin, paws resting on its tummy and two chubby legs stretched out in front with pads on the soles.
The mold is exactly what our two-part candle mold generator builds for it: two rigid halves with rubber-band grooves, pry pockets and a pour funnel on top. The seam runs from ear to ear, so the face, tummy and feet are the front half, and the tool's own seam check finds nothing stuck. No silicone needed.
A gift candle for a baby shower, a birthday or a nursery shelf. Pour it in honey brown, cream or pastel pink. The zip carries both halves, the teddy master as its own STL, the tool's own print-settings sheet and a recipe file for the generator.
Shown as a 3D render of the printed mold halves pulled apart around the candle they cast, not a photo.
Print both halves as exported. Clamp-strength settings: 4 walls, 40% gyroid infill, no supports.
Drop a tabbed wick into one half so the tab sits on the cavity floor, close the halves and band them along the whole seam.
Clip the wick centred across the pour funnel and pour at 65 to 75 C.
Once the first pour is firm but still warm, top up the funnel. Wax shrinks, and the second pour fills the dip.
Cool fully, open the halves at the pry pockets and trim the wick short, just above the head.
Print details
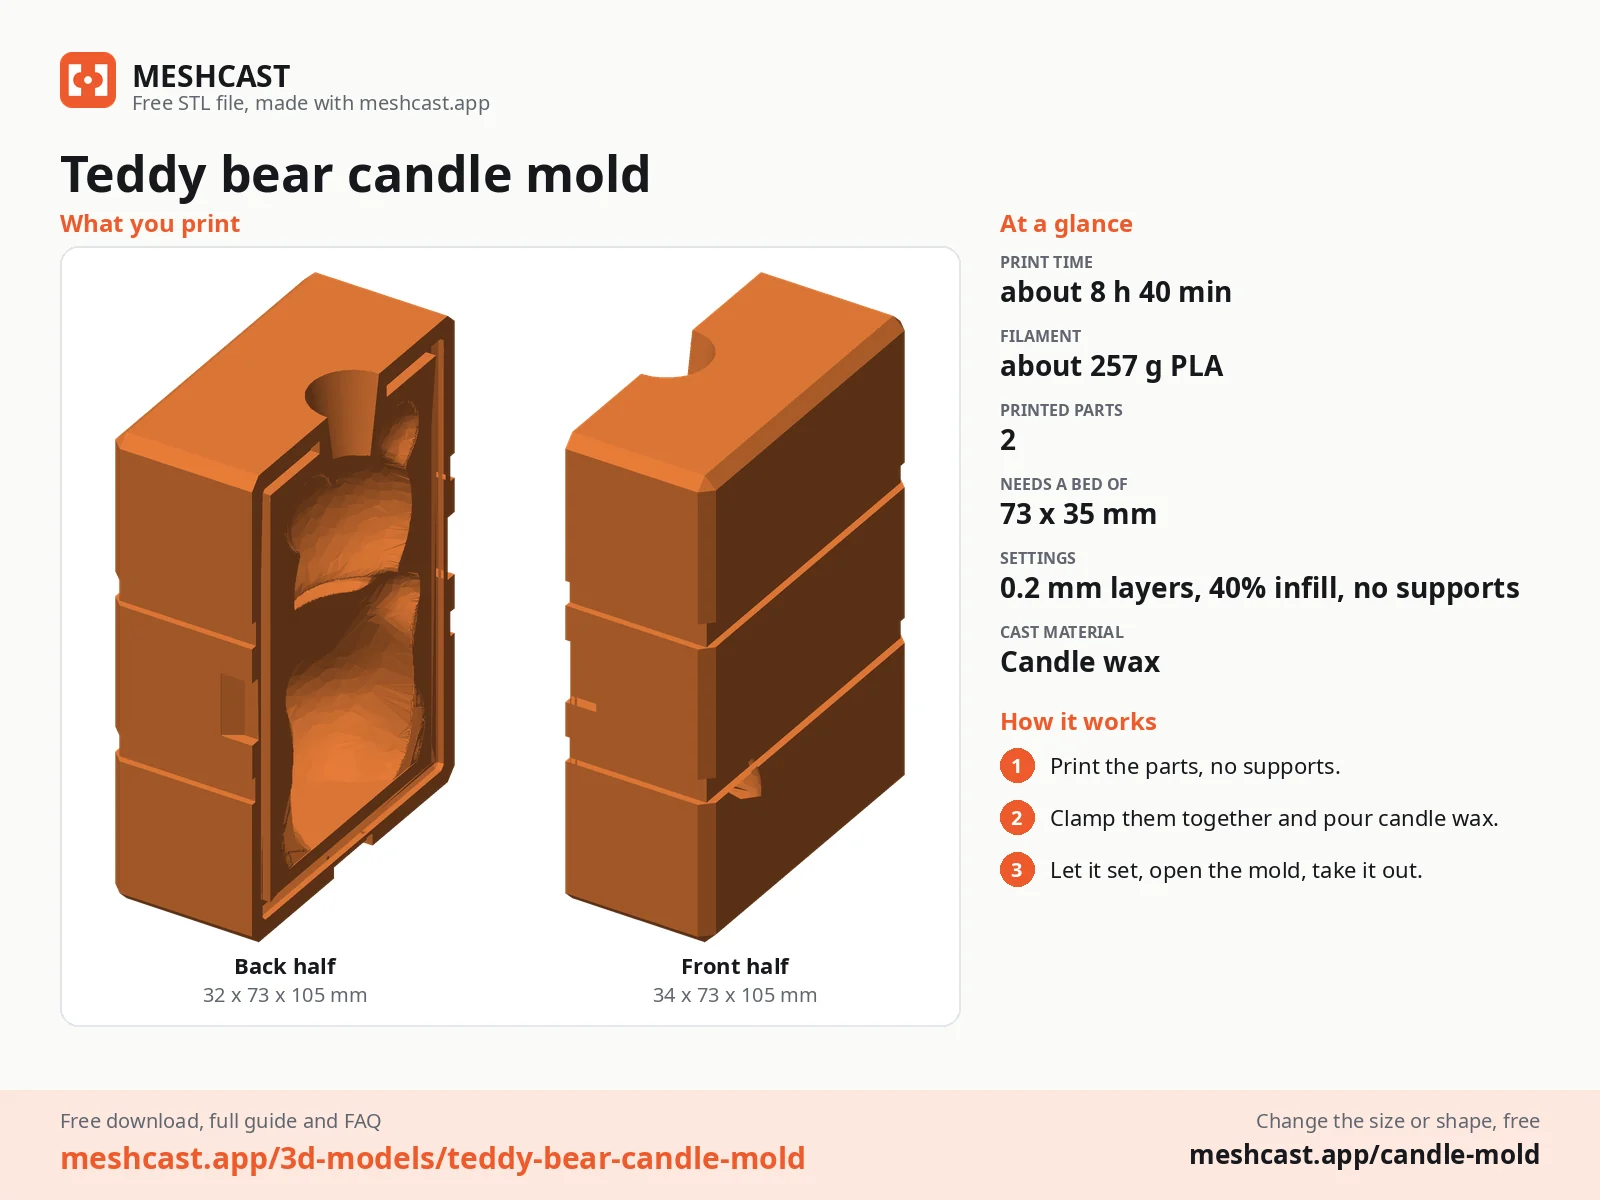
| Cast material | Candle wax |
|---|---|
| Printed parts | 2 |
| Size (W x D x H) | 66 x 73 x 105 mm |
| Print bed needed | 73 x 35 mm, 106 mm tall |
| Filament | ~257 g |
| Layer height | 0.2 mm |
| Infill | 40% |
| Supports | Not needed |
| Download | ZIP: 2 printed parts (STL) + candle master (STL) + print sheet + recipe |
| Added | 2026-09-25 |
Made with the free Rigid box mold generator. Upload your own model and get the same kind of mold built around it, in your browser.
Free download. Opens the Thingiverse listing in a new tab.
Free for personal use. Selling the pieces you cast needs a commercial licence (Pro or Founder); passing on the file itself is not permitted on any plan. Full terms.
New to casting? Read the candle mold guide.
Yes. Container soy wax is too soft for a free-standing figure, so use a pillar blend or a soy and coconut pillar wax, pour at the temperature its datasheet gives, and top up the funnel once the first pour has set.
The seam runs from ear to ear, and every part of the bear faces either straight out of the front half or straight out of the back one. The ears, arms and legs sit across the seam, so each rigid half pulls off without catching.
Honey brown and caramel are the classic teddy colours. Cream, blush pink or sage green suit a baby shower. Wax sets lighter than it looks when liquid, so pour a shade darker than the colour you want.
 Candle wax
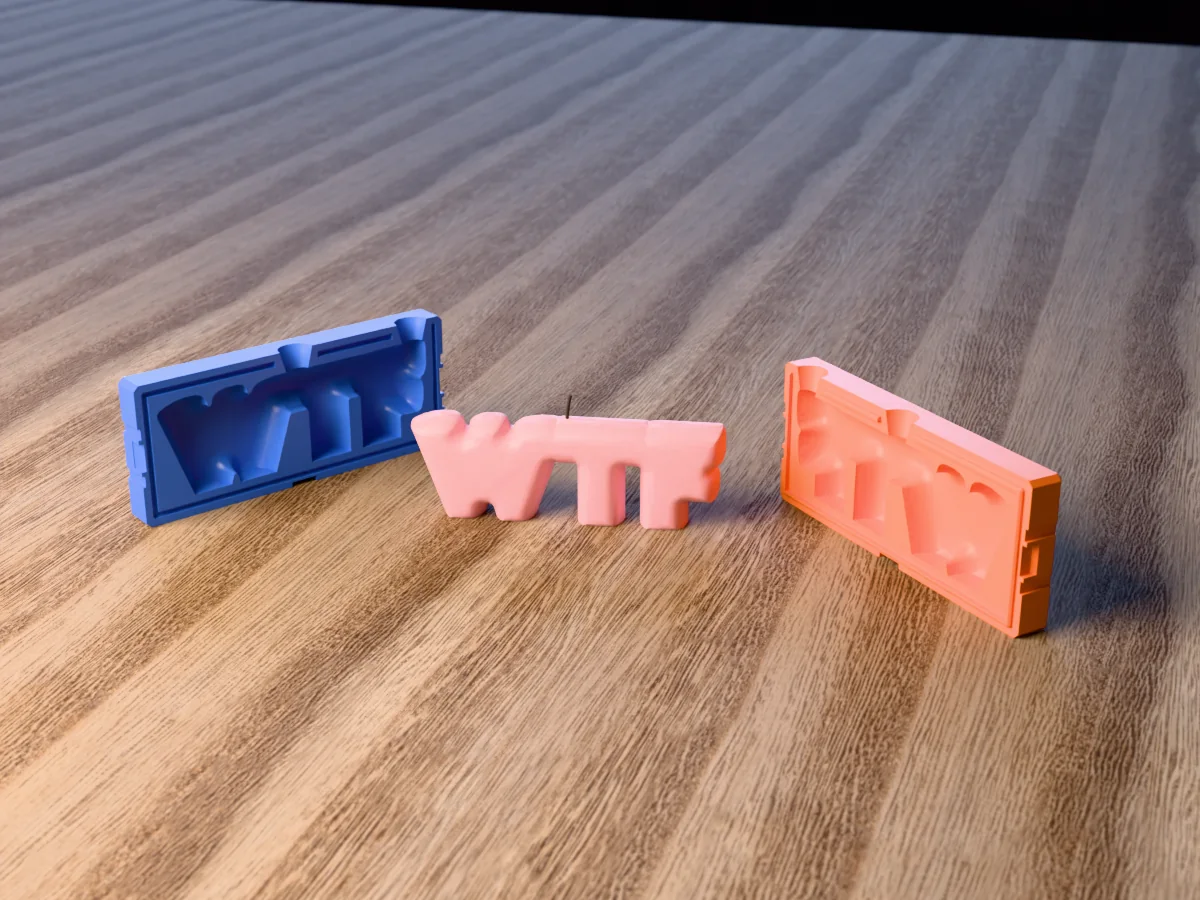
A puffy "WTF" bubble letter candle, 150 mm long, from a rigid two-part print. Two wicks, no silicone.
 Candle wax
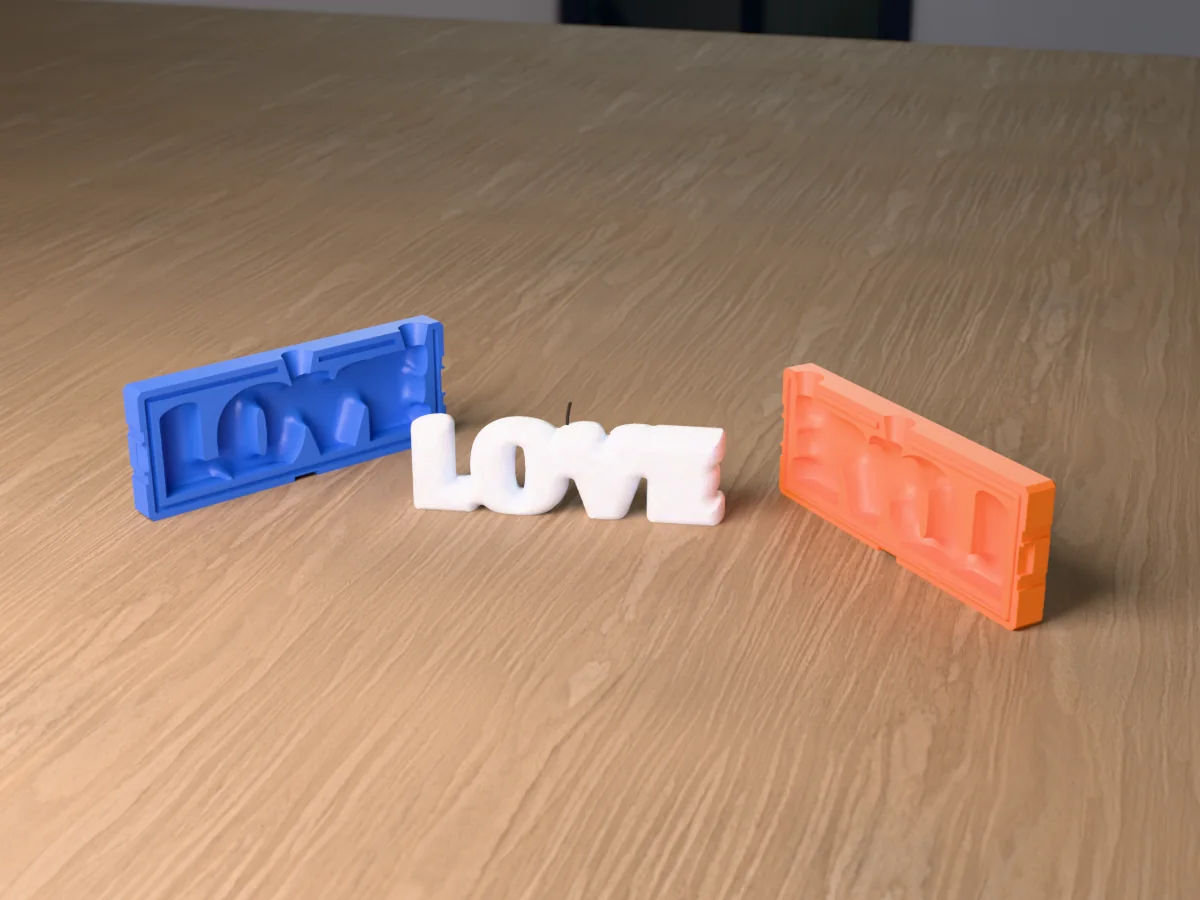
A puffy "LOVE" bubble letter candle, 160 mm long, from a rigid two-part print. Two wicks, no silicone.
 Candle wax
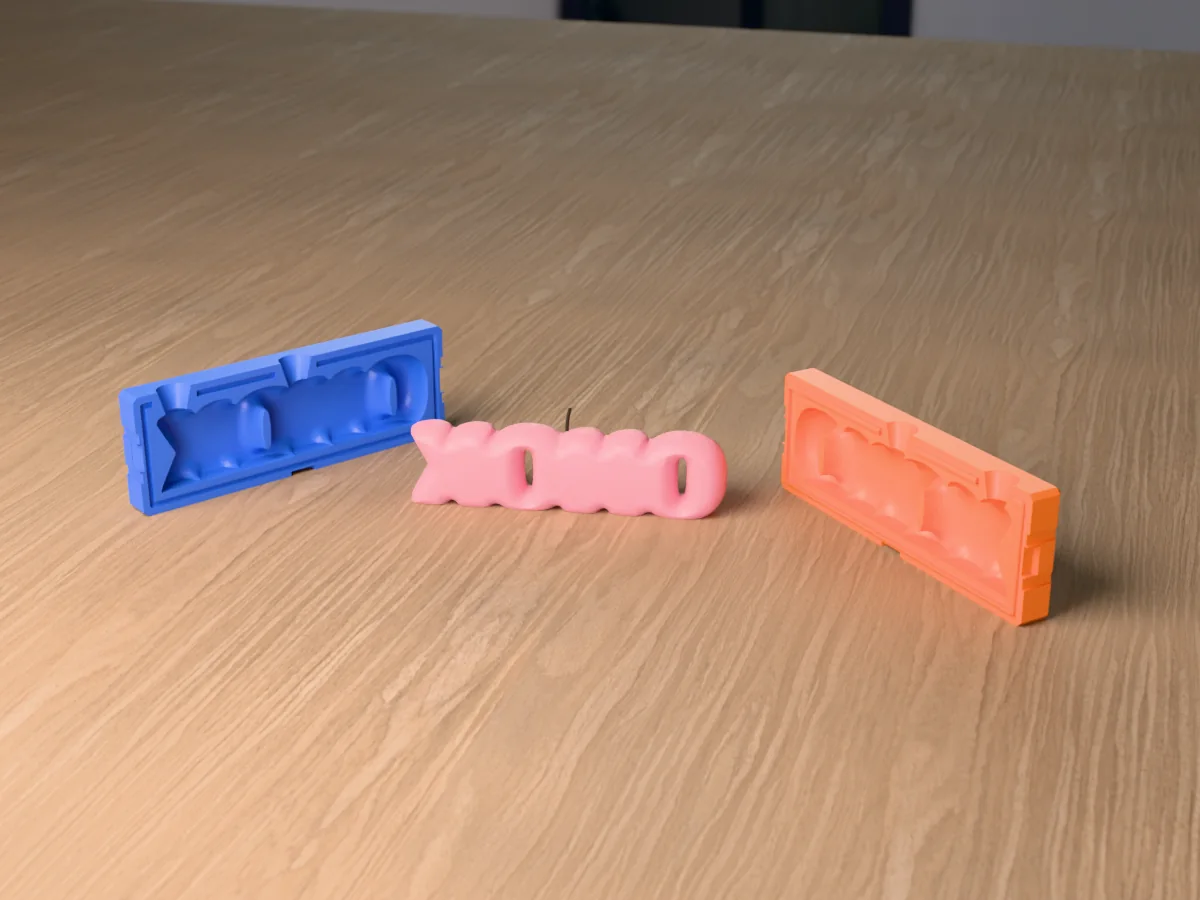
A puffy "XOXO" bubble letter candle, 160 mm long, from a rigid two-part print. Two wicks, no silicone.
 Candle wax
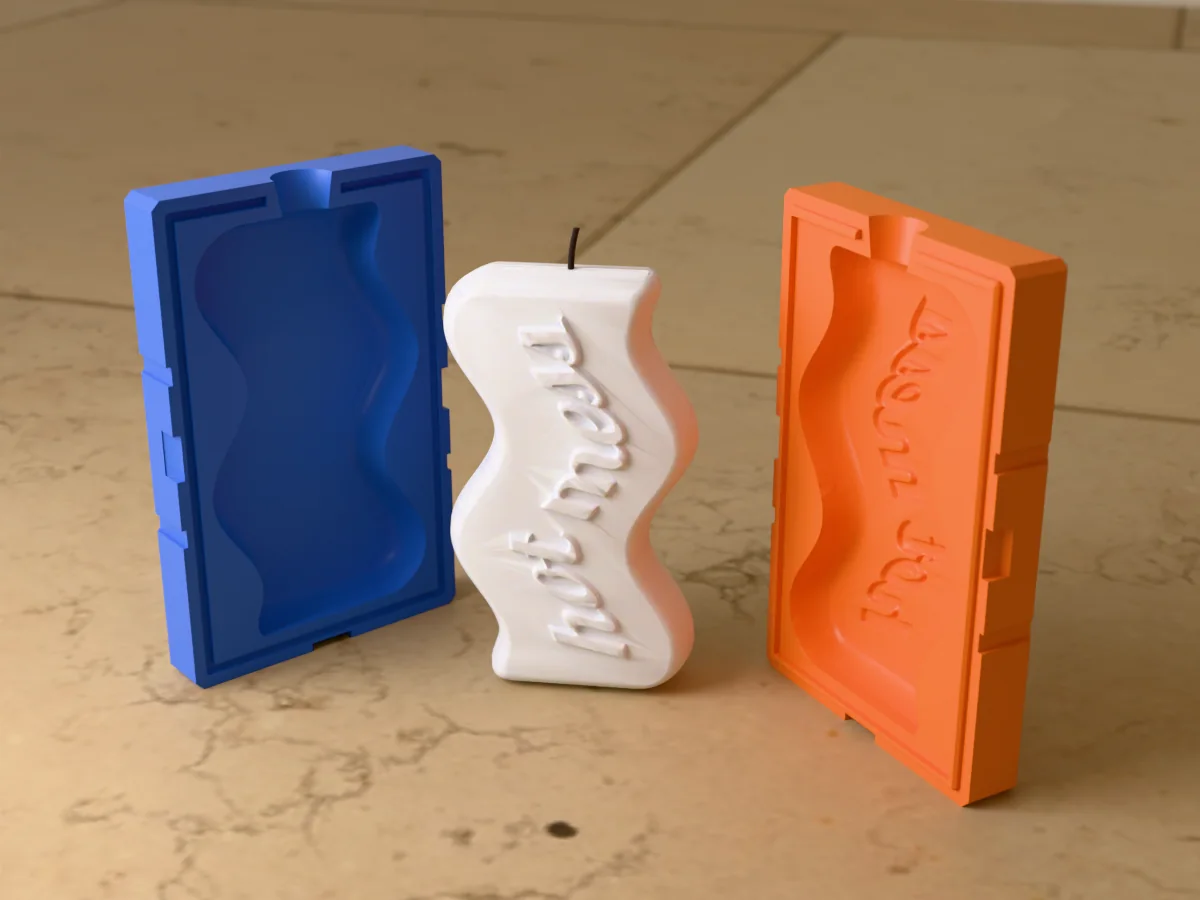
A tall wavy candle with "hot mess" in raised script running up the front. A rigid two-part print, no silicone.
 Candle wax
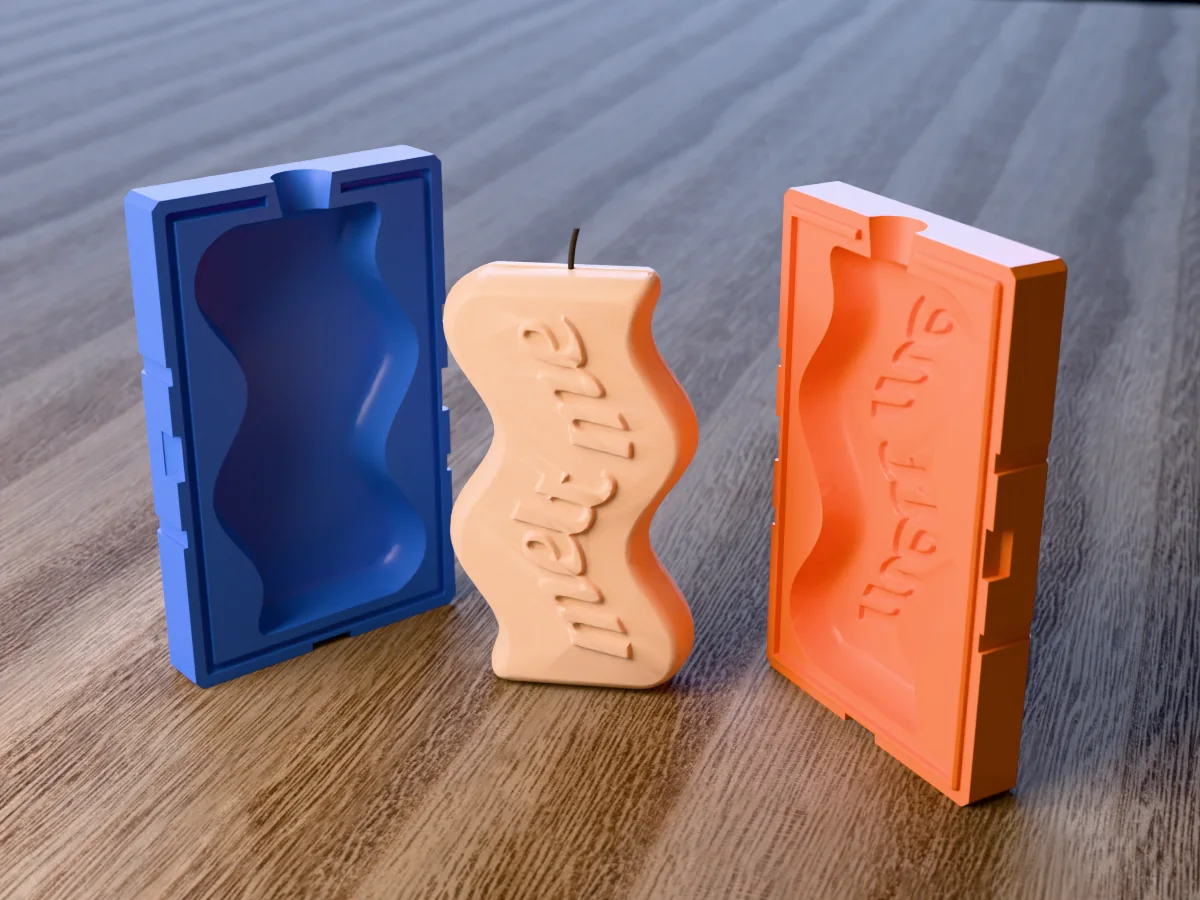
A tall wavy candle with "melt me" in raised script running up the front. A rigid two-part print, no silicone.
 Candle wax
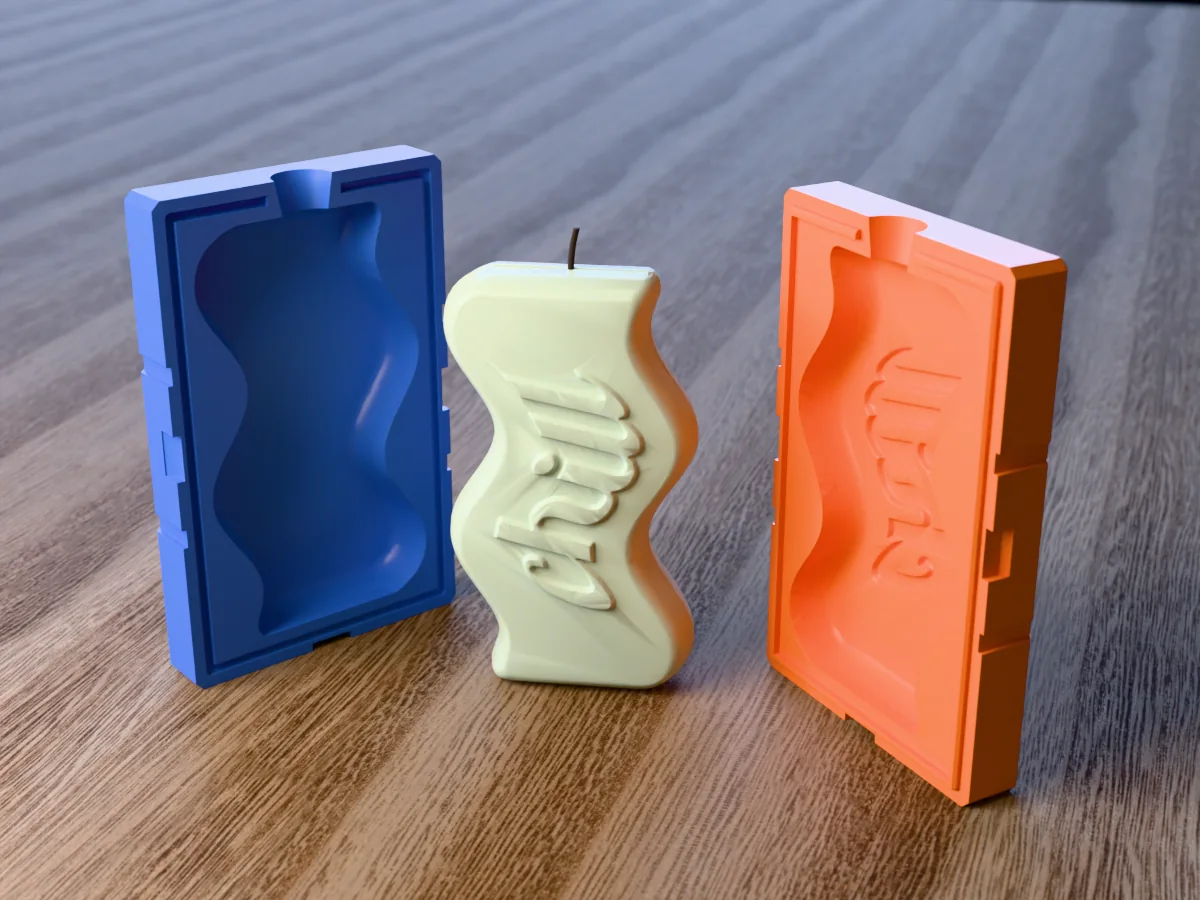
A tall wavy candle with "chill" in raised script running up the front. A rigid two-part print, no silicone.
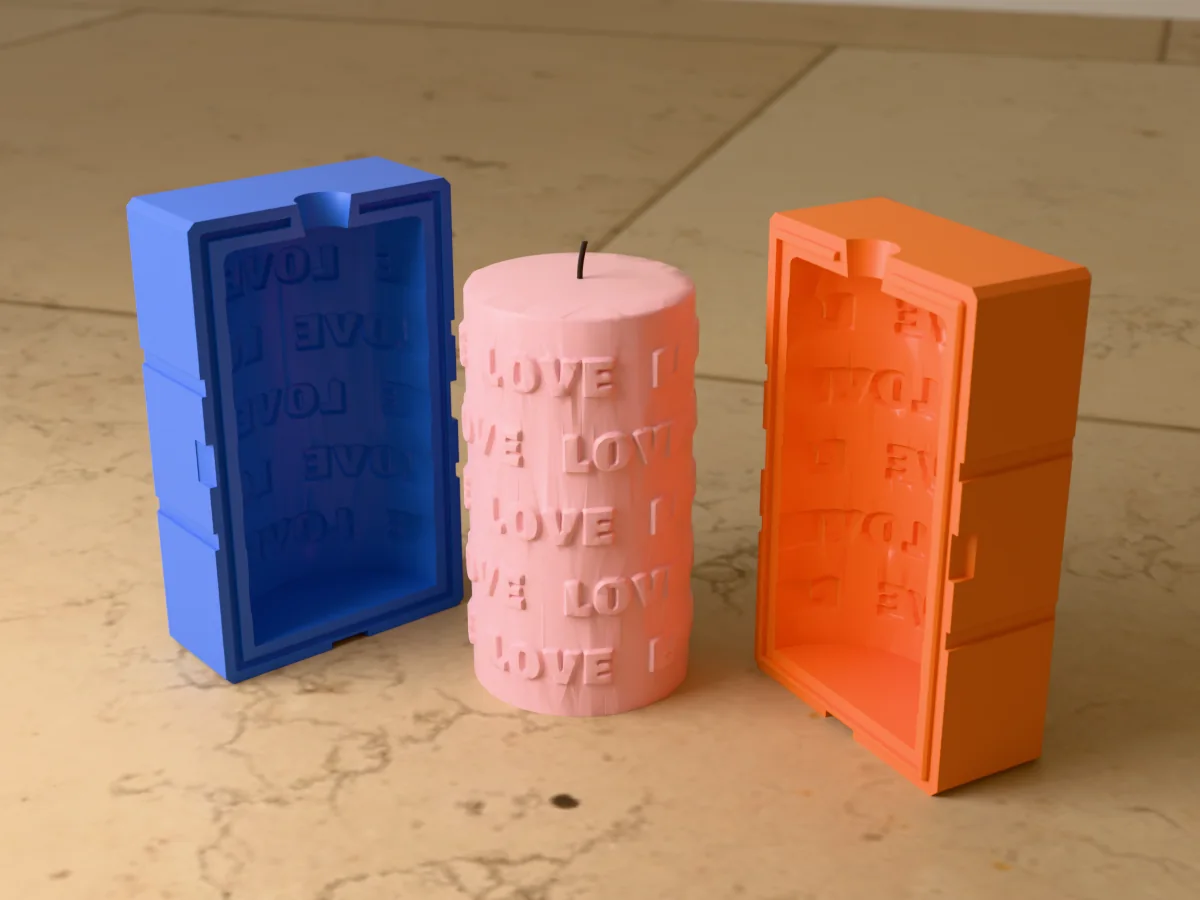 Candle wax
A 70 x 130 mm pillar candle with "LOVE" in raised letters in rows all round it. A rigid two-part print, no silicone.
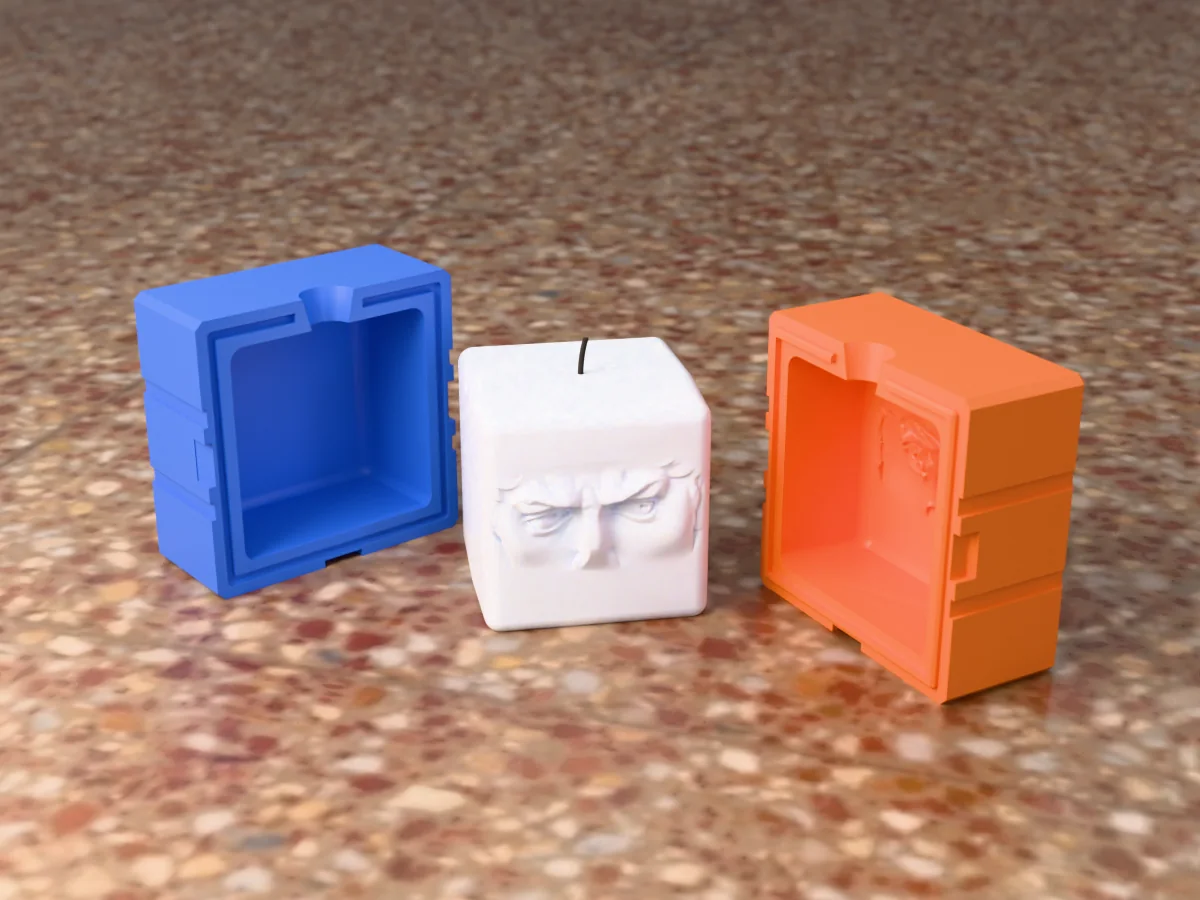 Candle wax
A 70 mm cube candle carrying the eyes of Michelangelo's David, from a museum scan. A rigid two-part print, no silicone.