3D printed mesh bowls and baskets: print flat, press into shape
This guide was drafted with AI assistance.
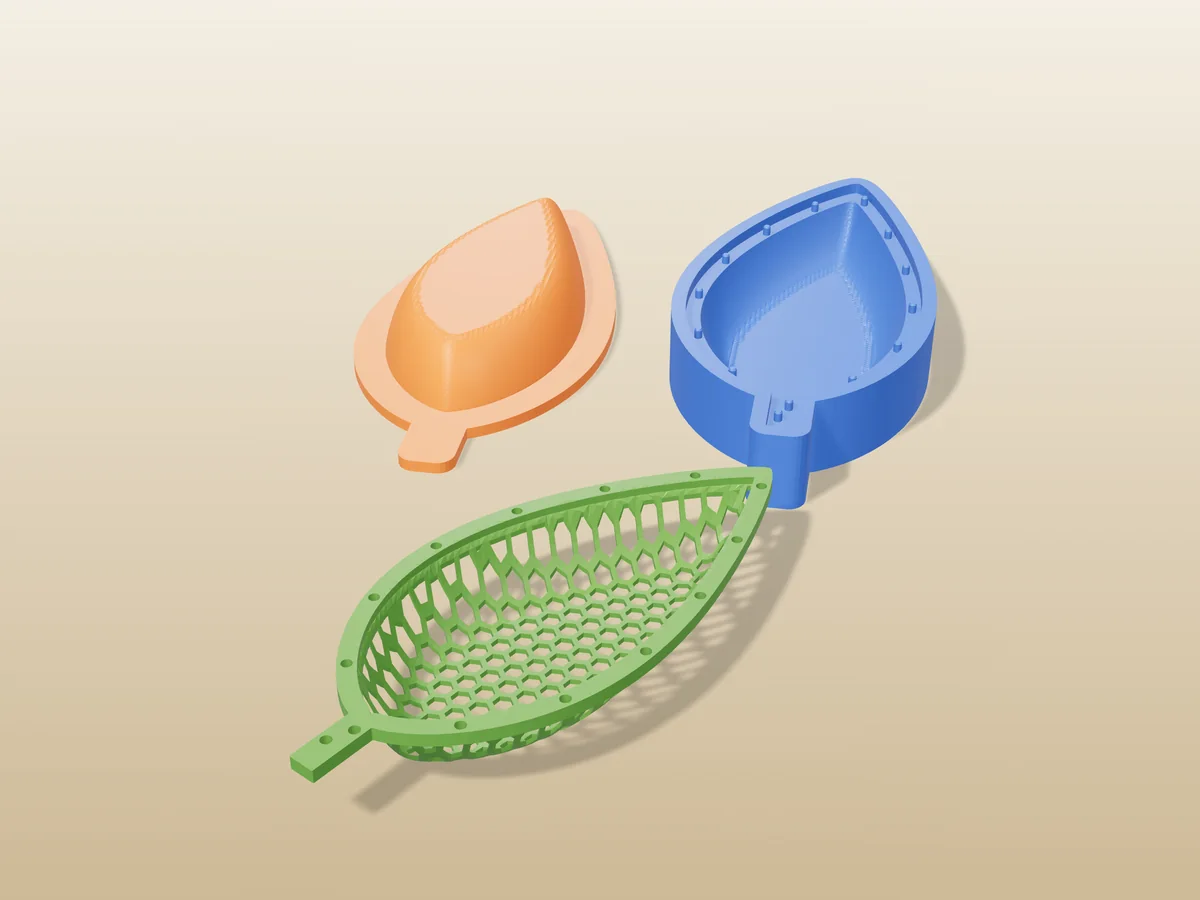
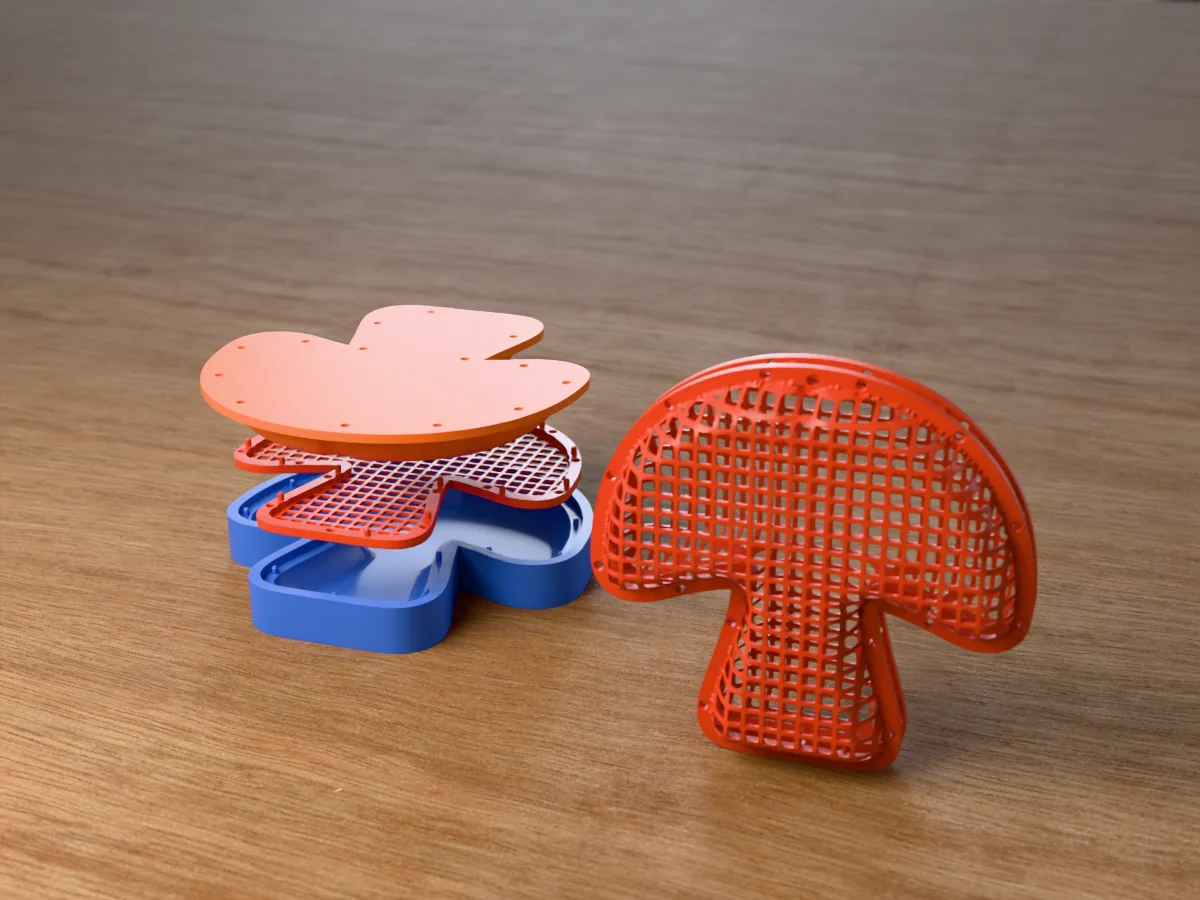
A solid bowl or basket is fastest in vase mode. An open lattice bowl, key dish or shallow basket is easier if you print the mesh flat (no supports, no overhangs, about one to two hours), then warm it with a heat gun or hair dryer and press it between a printed plug and cavity. The free mesh former builds the flat mesh and both press halves from any outline: a leaf, a heart, a lemon or your own logo.
Three ways to 3D print a bowl or basket
Search Printables or MakerWorld for "basket" or "fruit bowl" and almost every result is one of three things, each suited to a different job.
| Vase mode | Lattice printed upright | Mesh printed flat, then pressed | |
|---|---|---|---|
| Walls | Solid, one line thick | Open lattice | Open lattice inside a stiff rim |
| Supports | None, but no wall may lean out past about 45 degrees | Needed wherever the struts run near flat | None: it is a flat sheet when it prints |
| Shape | Any depth, round or faceted | Any depth | Shallow and wide; outline can be any silhouette |
| Extra parts | None | None | A plug and cavity, printed once and reused |
| Best for | Tall baskets, planters, deep fruit bowls | Steep-sided lattice baskets | Key bowls, catch-all trays, ring dishes, shallow fruit bowls, several of the same |
Vase mode spirals a single wall up from a solid bottom. It is quick and cheap, but it cannot print a hole through the wall, and a wide shallow bowl is the shape it struggles with: past roughly 45 degrees of lean the next line has nothing under it and droops. "Woven" vase-mode baskets get their look from surface texture, not real openings.
A lattice printed upright works when the sides are steep. On a flared bowl the struts near the bottom run almost flat and want supports, which then have to be picked out of hundreds of cells.
Printing flat and pressing is the trick Uncle Jessy showed and Hackaday picked up: print a thin mesh as a flat sheet, soften it with heat, press it into a printed form, and let it set as it cools. Designs like the DOILYBOWL on Printables use the same idea with a hair dryer. It is the subject of this guide, and our thermoforming guide covers the technique in general.
When printing flat and pressing wins, and when it does not
Pick it when most of these are true:
- You want holes. Light through it, air round fruit, a lighter look on a shelf.
- The bowl is shallow and wide. A key bowl, a catch-all by the door, a ring dish on a bedside table, a low tray for lemons or apples.
- The outline is a shape, not a circle. A leaf, a heart, a star, a fish, a company logo. The rim follows whatever silhouette you give it.
- You want more than one. The press is the long print. From the second bowl on, each one costs only a new mesh.
Skip it for a tall basket with a handle, a deep fruit bowl or a single plain round dish. Vase mode or a normal print does those better and with fewer steps.
Setting up the bowl in the mesh former
The form you press into
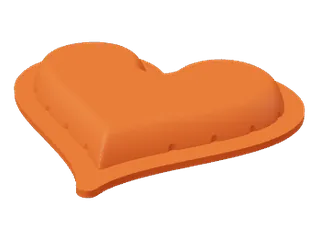 DomeA smooth rounded top. The usual choice.
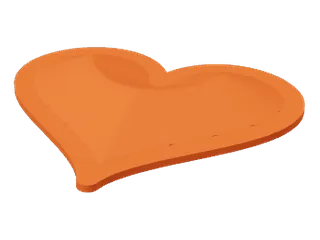 ConeRises to a point. Stretches the mesh the least.
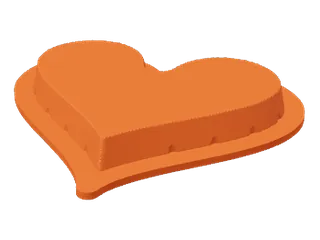 PlateauSteep sides and a flat top. Stretches the mesh the most.
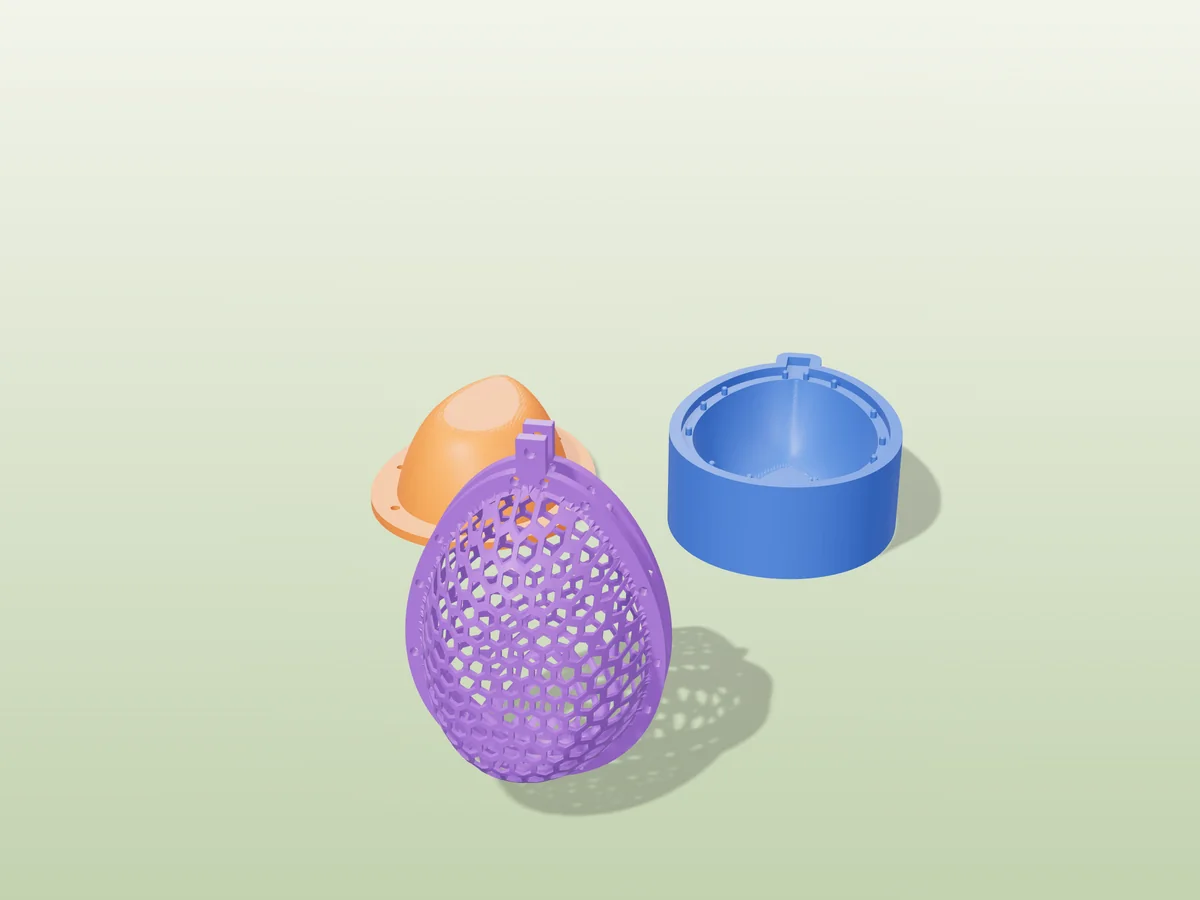
The mesh former runs in your browser. Pick a built-in shape (heart, leaf, star, lotus, apple, pear, lemon, clover, fish and more) or upload an SVG, PNG or JPG; a bold, filled silhouette traces best. From that one outline it builds the flat mesh in a solid rim, a cavity with your shape sunk into it and a matching plug, so all three always fit.
Untick "Two halves"
It is on by default, for closed shapes made of two pressed halves. A bowl is one open half, so turn it off and you get one mesh and one press.
Pick the form shape for the bottom you want
Dome (the default) gives a smooth, gently curved floor; our published bowls and dishes use it and sit on that wide curve. Plateau gives steep sides and a flat floor, which stands steadier, but it stretches the mesh the most, so keep it shallower. Cone closes to a point, which suits a hanging basket better than one that stands on a table.
Set the size and depth
Size is the longest side of the flat mesh, 40 to 250 mm. Depth runs from 5 to 60 mm. When you load a shape the tool picks a safe depth for it, and as you go deeper it warns you once the stretched mesh would end up thinner than about 0.6 mm, which is where struts snap instead of stretching. To go deeper than the warning allows, raise the mesh thickness (up to 1.6 mm) or pick a dome over a plateau.
Choose the pattern and hole size for what goes in it
Six patterns: square, diamond, honeycomb, triangle, brick and round. Our bowls use honeycomb, which we expect to drape best over a dome because it can stretch in three directions; that is a reasonable guess, not something we have measured. Size the holes for the contents: small cells for rings, earrings and coins, bigger cells for fruit, where airflow is the point.
Decide how stiff the rim is
Frame width (default 4 mm) and height (default 3 mm) keep the bowl's edge true. A wider rim is a sturdier lip, but the shaped area starts where the rim ends, so the mesh stretches further at the same depth. Keep the wall angle at its 12 degree default or more so the cooled bowl lifts out.
Print settings
| Mesh | Plug and cavity | |
|---|---|---|
| Material | PETG (best), or PLA | PLA is fine |
| Nozzle and layers | 0.4 mm, 0.2 mm layers | 0.4 mm, 0.2 mm layers or coarser |
| Walls and infill | 2 walls; the struts are thin enough to be solid anyway | 2 walls, 10 to 15% infill: they only take hand pressure |
| Supports | None | None, flat side down |
| Watch | First layer: clean bed, slow first layer, every strut stuck down | Nothing special |
Use your usual temperatures for the filament: roughly 230 to 245 °C nozzle and 70 to 85 °C bed for PETG, 200 to 215 °C and 60 °C for PLA. On a smooth PEI sheet, PETG can bond too well; a thin layer of glue stick acts as a release. Keep the default strut width of 1.2 mm or wider (two to three nozzle widths), so each strut prints as solid extrusion rather than one thin, under-filled line.
PETG softens around 80 °C across a wide window, so a few seconds too long under the heat does not ruin it, and the bowl will not sag on a sunny windowsill. PLA softens around 60 °C, forms easily, but turns brittle if overheated and can slump in a hot car. More in our filament comparison.
Forming the bowl
Seat the mesh
Stand the cavity opening up on a board. Lay the mesh in the pocket round the opening, bed side down, so the pins go through the rim. No vent holes are needed: a mesh is already full of them.
Warm the middle, not the rim
Heat gun on its lowest setting, kept moving, 15 to 20 cm away, or a hair dryer on its hottest setting, closer and longer. Aim at the middle. You want limp, not glossy: once it shines, the struts are thinning and about to snap.
Turn the plug over side to side and push
Flip the plug like a book page (left edge to the right, top stays at the top) so it matches the cavity, and press it straight down until its flange sits flat. Hold it until mesh and rim are cold, about a minute; a damp cloth speeds that up.
Lift out and check
The side that lay on the print bed is now the smooth outside of the bowl. If a patch did not form fully, put it back in the press, warm that spot again and press once more.
Sizes and print times from real designs
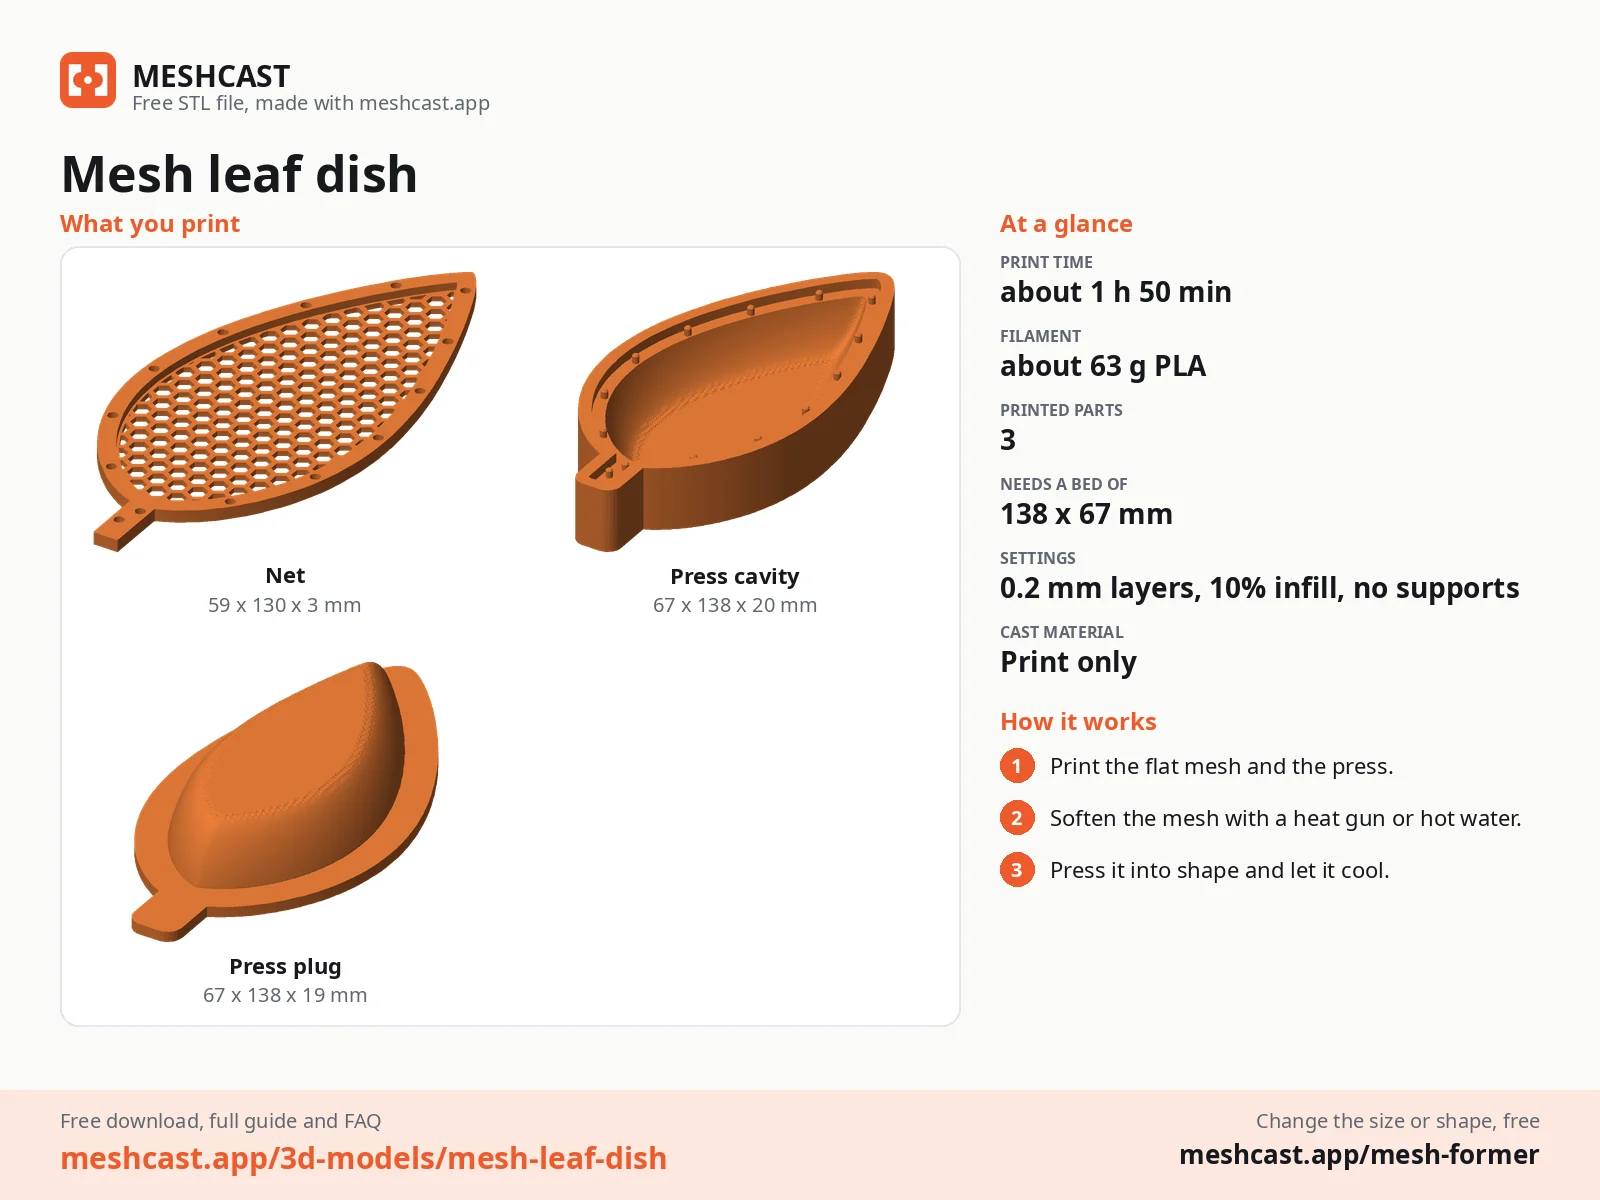
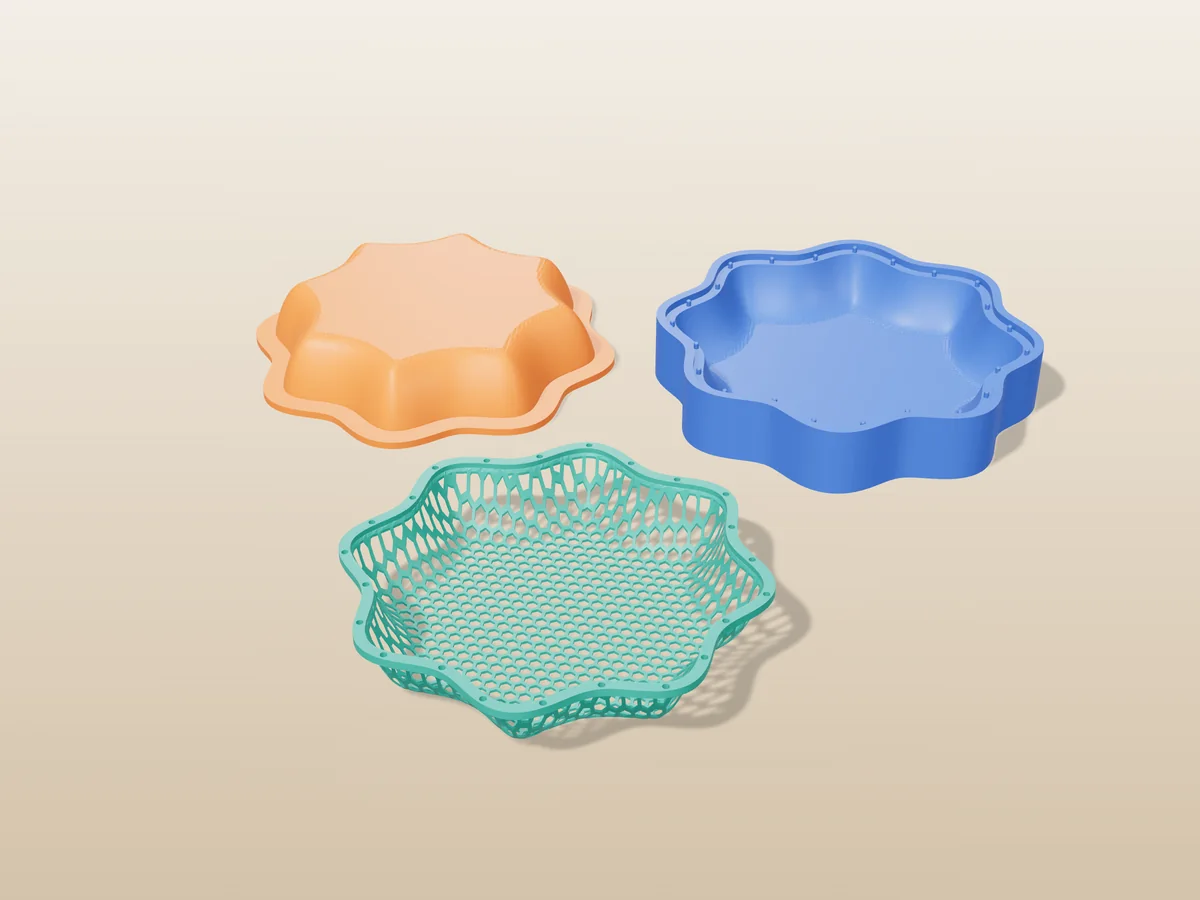
These are the three mesh designs in our free design library, sliced in PrusaSlicer at Prusa MK3S speeds with a 0.4 mm nozzle and 0.2 mm layers. They are slicer estimates, so a fast CoreXY printer will beat them.
| Design | Finished size | Mesh | Plug + cavity (once) |
|---|---|---|---|
| Mesh leaf dish | 130 x 59 mm, 16 mm deep | 55 min, 7 g | 3 h 40 min, 57 g |
| Heart mesh dish | 110 mm, 20 mm deep | 72 min, 9 g | 5 h 3 min, 80 g |
| Scalloped mesh bowl | 150 mm, 27 mm tall | 2 h 9 min, 15 g | 10 h, 172 g |
The mesh is cheap: a few grams and an hour or two. The press is where the time goes, so the method pays off on the second bowl and beyond: gifts, a matching set, a craft market stall.
For size, check the press, not the mesh: its flange makes it about 8 mm wider than the size you set. The tool checks every part against the printer you picked and tells you when one will not fit, and what size would. Plug and cavity can go on separate plates if they do not share one.
Problems
The bowl rocks on the table
Cause A dome form gives a curved floor; on a narrow outline the curve is tight enough to rock.
Fix Switch the form shape to plateau for a flat floor (and keep it shallower), make the bowl shallower, or stick three small felt pads under it.
Struts tore near the bottom of the bowl
Cause Too deep a draw for the outline, or a patch that was still too cold. The bottom is where the mesh stretches most.
Fix Lower the depth until the sidebar stops warning, or raise mesh thickness and strut width. Warm longer from further away so the heat reaches the centre evenly.
The rim of the bowl came out wavy
Cause Heat on the rim, or the plug lifted while the rim was still warm.
Fix Keep the gun on the middle, hold the plug down until everything is cold, and on a spiky outline use a wider frame.
The bowl sags with heavy fruit in it
Cause We have not measured how much load a pressed mesh carries, and a thin net in a wide bowl is not a structural part. PLA also creeps when it sits warm.
Fix Keep big bowls for light loads, print in PETG, use smaller cells and wider struts, and go for a smaller, shallower bowl if it has to carry weight.
FAQ
Can you 3D print a basket without supports?
Yes, two ways. A solid-walled basket prints without supports in vase mode, as long as no wall leans out more than about 45 degrees. An open lattice bowl prints without supports if you print the mesh flat and press it into shape afterwards with heat, because a flat sheet has no overhangs at all.
Can I make a fruit bowl this way?
A shallow one, yes. The mesh former goes up to 250 mm on the longest side (the press halves print about 8 mm wider, so check your bed) and is built for shallow, wide shapes. A deep fruit bowl of 80 mm or more is a job for vase mode or a direct print, not for a pressed mesh.
Should I print the mesh in PLA or PETG?
PETG for the mesh. It softens around 80 C, forgives a little too much heat and stays tough after cooling. PLA forms too, even with a hair dryer, but its window is narrow and it goes brittle if you overshoot. The two press halves can be plain PLA: the thin mesh carries too little heat to soften them.
Do I need a heat gun?
No. A heat gun on its lowest setting is fastest, but a household hair dryer on its hottest setting works too, more slowly, and it is very hard to overheat a part with one. The first mesh pressed with the Meshcast mesh former was formed with a hair dryer.
How long does a mesh bowl take to print?
For our published designs, sliced at 0.2 mm layers on a Prusa MK3S, the mesh takes 55 minutes for a 130 mm leaf dish, 72 minutes for a 110 mm heart dish and about 2 hours for a 150 mm bowl. The press halves take longer, 3.5 to 10 hours, but you print them once and form as many bowls as you like.
Heat-formed mesh prints
All free designs →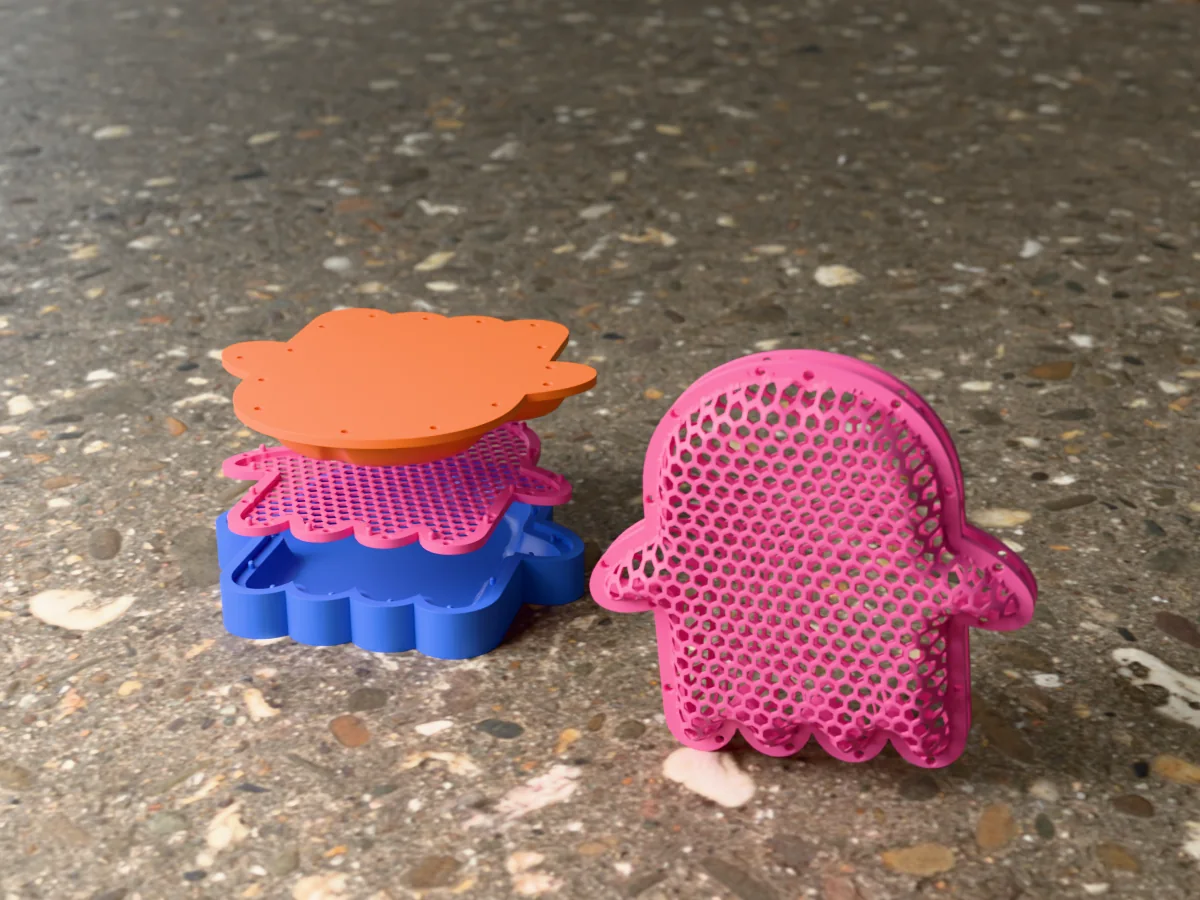
Made by meshcast.app. Pressed a bowl or basket of your own? Send a photo, I'd love to see it.