3D printed mesh Christmas ornaments: print flat, no supports
This guide was drafted with AI assistance.
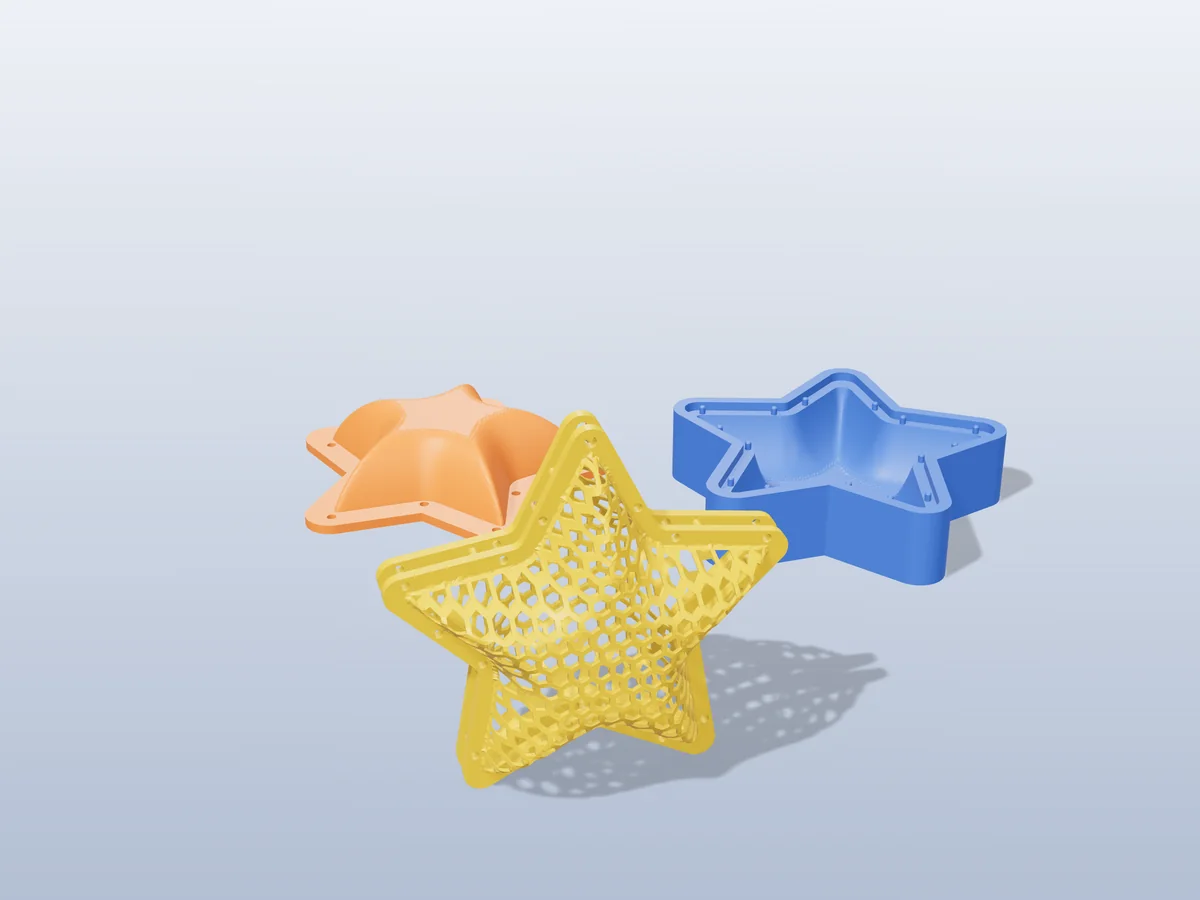
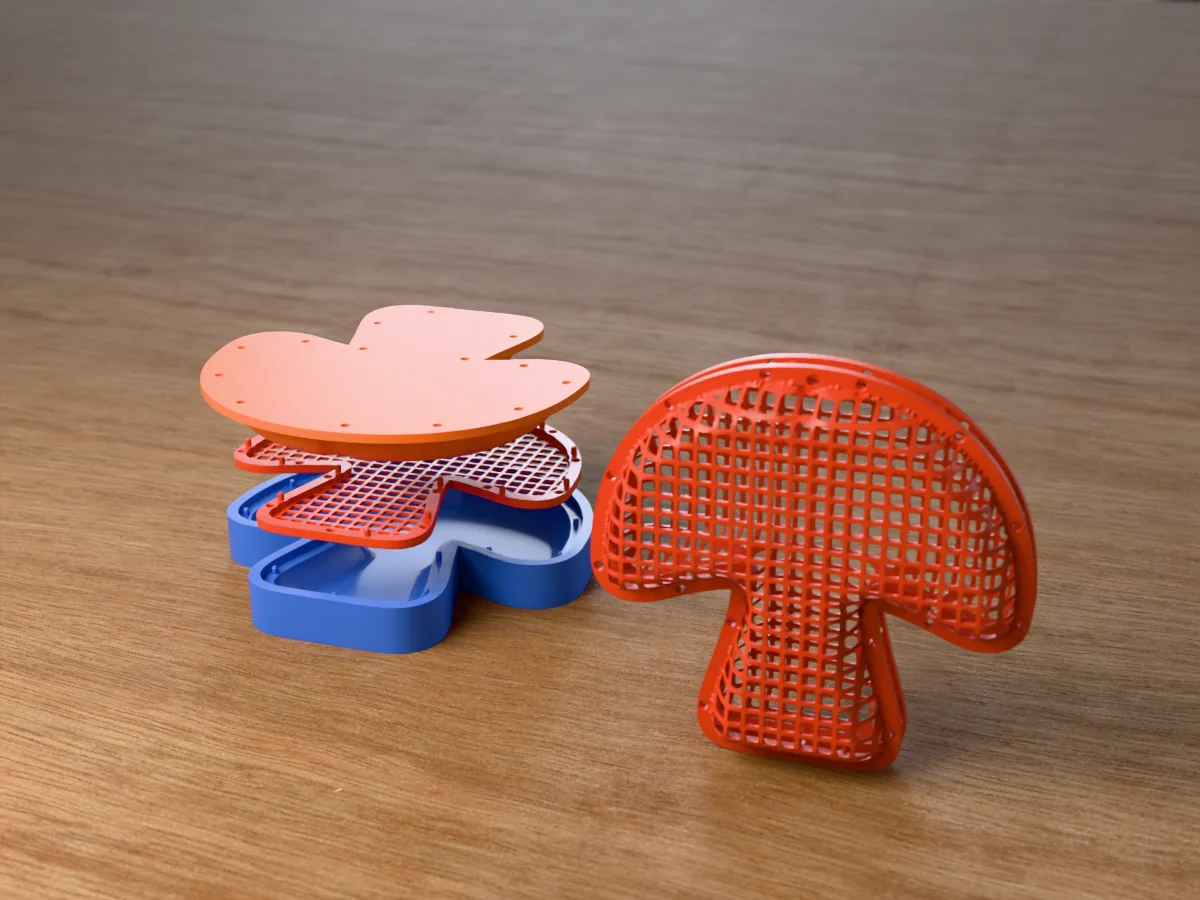
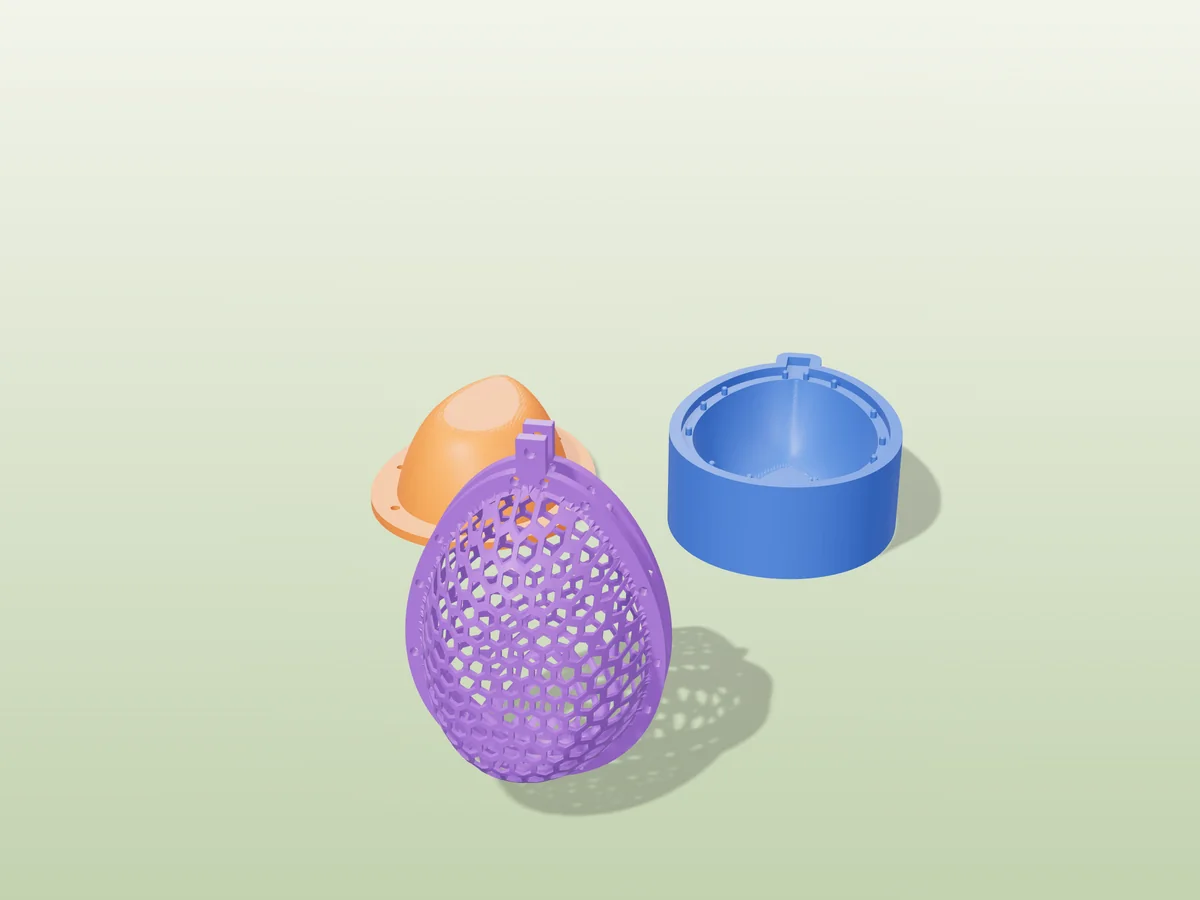
An open lattice ball is hard to print whole: the struts near the top of the curve hang in mid-air. Instead, print two flat mesh nets inside a stiff rim, warm each until it goes limp, and press it into a dome with a printed plug and cavity. Close the domes rim to rim and you have a puffy bauble, star, heart or bell with no supports and the smooth print-bed face on the outside. The free mesh former builds the nets, the press and the closure from any outline.
Why print a lattice ornament flat
Lattice and openwork baubles are among the most popular Christmas prints, usually printed as one piece. That only works when every strut was designed within the printer's overhang limit, which is why many listings also ship a "supported version". Even then, each strut is a stack of short layers that splits along its layer lines when the ornament falls off the tree.
Printed flat, the same lattice is a sheet about 1 mm thick. There is nothing to support, nothing to pick out of hundreds of small holes, and every strut is laid down in one piece along its length. The curve comes afterwards, from heat. The technique is called post-print thermoforming; makers use it for meshes and grilles, and Hackaday covered it earlier this year. Our thermoforming guide has the general physics; this page is only about ornaments.
Which method for which ornament
Flat-and-formed is not the best answer for every ornament:
| Method | Best for | Weak spot |
|---|---|---|
| Flat 2D ornament | Snowflakes, names, cookie-cutter shapes. Fastest of all, and a good first print. | No volume: it reads as a cut-out, not a bauble. |
| Vase mode | Smooth or ribbed baubles, bulbs and bells, translucent and glowing. Very quick. | One continuous wall, so it cannot have holes: no lattice. |
| Lattice printed whole | Sculpted 3D lattices that are designed for it, such as twisted or Voronoi balls. | Overhangs, sometimes supports, long prints, struts that snap along layer lines. |
| Flat mesh, heat-formed | Open lattice in any outline you can draw, light and tough, many copies of one shape. | A press to print first, a hand-forming step, and a puffy shape rather than a perfect sphere. |
Twenty different snowflakes: print them flat. A glassy smooth bauble: vase mode. The mesh former wins when you want an open, dimensional ornament in a shape of your own (a heart, a bell, a club logo), especially several of them, because the press is printed once and forms every half.
Shapes that work, and shapes that don't
Each half is a dome pressed from the outline, so the outline is the whole design. Round, chunky shapes form best. The built-in examples include a bauble, heart, star, bell, acorn, snowman, mitten, Christmas tree and gingerbread house, all drawn as bold silhouettes for this reason.
- Round points beat sharp ones. A sharp point is too narrow for the press to rise into, so the mesh there stays flat or stretches far thinner than the middle. Our mesh star has rounded tips for that reason.
- No thin limbs. Legs, ears, antlers and wings narrower than about two rim widths trace into solid rim with no mesh inside. That is why bunnies and gingerbread men were dropped from the examples.
- Your own art: one dark silhouette on a plain background, as a PNG, JPG or SVG. The tool traces the outline itself. A busy photo will not trace into a usable shape.
- Symmetric is cheaper. A shape that mirrors cleanly (a heart, a bell, a bauble) forms both halves in one press. A lopsided one, such as a mitten, needs the back half pressed in a mirrored press, so the download includes two presses and the sidebar tells you.
Settings for an ornament
The defaults are tuned for a 120 mm bowl. For a tree ornament, change these:
| Setting | Start at | Why |
|---|---|---|
| Size (longest side) | 70 to 100 mm | Classic bauble size. Smaller, and the rim eats the mesh. |
| Mesh pattern | Honeycomb | Our ornament files use it. It spreads stretch three ways, which is our reasoning for domes, not a lab result. |
| Hole size | 4 to 6 mm | Reads as lace, still prints quickly. |
| Strand width | 1.2 mm (default) | About three nozzle widths, so every strut prints as solid plastic. |
| Press form shape | Dome | A plateau gives a flat-faced pillow; a cone closes to a point. |
| Depth | 12 mm, then deeper | Deeper is rounder. Stop where the sidebar warns. |
| Mesh thickness | 1.0 to 1.4 mm | Every bit of depth comes out of the mesh's thickness. Our star uses 1.4 mm and stretches to about 0.73 mm. |
| Two halves | On | Makes a closed ornament, not a dish. |
| Hanging hole | On | A 3 mm hole through a solid boss at the top of the outline. |
Filament and colour
- PETG is the most forgiving. It softens around 80 °C over a wide window, stretches without tearing and survives a drop onto a hard floor.
- PLA softens around 60 °C, so a hair dryer forms it easily, but the window is narrow: too cold and struts crack, too hot and they sag. Silk PLA behaves the same, and its shine makes the lattice catch the tree lights.
- Translucent PETG glows with a light inside.
- The press spends only seconds touching warm plastic, so plain PLA is fine for the plug and cavity, with 2 walls and 10 to 15% infill.
The print-bed face becomes the outside: a smooth sheet gives a glossy finish, a textured PEI sheet a fine sparkle. Paint after forming; paint on a flat net cracks when it stretches.
Step by step
Pick or upload the outline
Open the mesh former, choose a built-in shape or upload your own, apply the settings above, keep Two halves that fit together ticked and choose a closure (below).
Print everything on the list
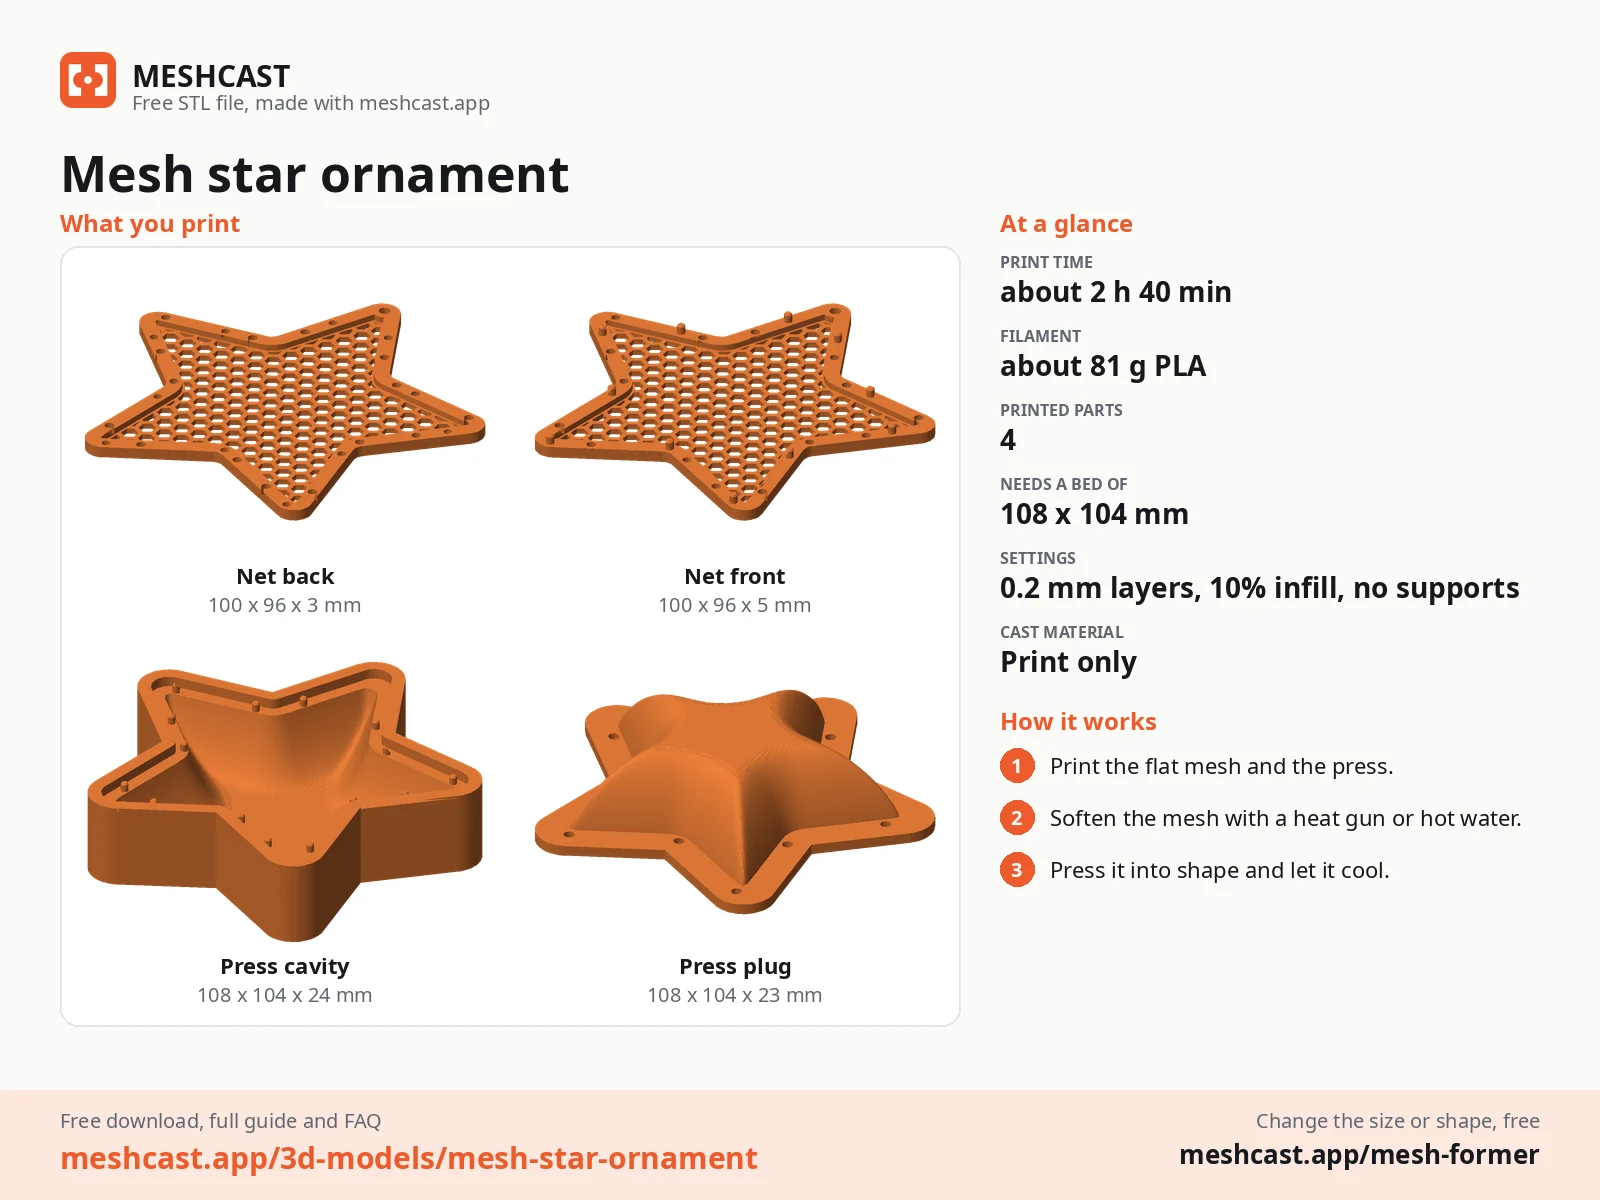
The sidebar's What you print list names every part: two nets, the plug and the cavity, plus a cap and clip with the screw cap. Everything prints flat with no supports.
Load the front net
Stand the cavity opening up and drop the net into the pocket round its top, bed side down, so the small pins in the pocket go through the holes in the rim. The pins stop the stretching mesh dragging the rim inward. No vent holes needed: a mesh is full of holes already.
Warm the middle, not the rim
A heat gun on low, kept moving 15 to 20 cm away, or a hair dryer on its hottest setting 10 to 15 cm away. Stop when the mesh goes limp, before it turns glossy. Keep the heat off the rim, or the halves will not meet later.
Press and hold until cold
Turn the plug over side to side, like the page of a book, push it straight down until its flange sits flat on the block, and hold it about a minute. Lift it out only when the rim is cold: a rim lifted warm bends as it cools, and the halves gap at the seam.
Form the back net the same way
Same press, bed side down again. A lopsided outline uses the second, mirrored press.
Closing and hanging it
Each formed half is a shallow bowl, and the two bowls close rim to rim. The tool offers four ways to hold them:
- Filament pins (the default): a hole through both rims at each spot. Push a piece of 1.75 mm filament through and trim it flush. Both halves are identical and nothing printed can snap off.
- Printed pins: pins on the front rim press into holes in the back. A drop of glue makes it permanent.
- Magnets: pockets for 6 × 2 mm disc magnets in both rims. The ornament opens again, so you can fill it with a folded note, a gift card, sweets or a battery fairy light.
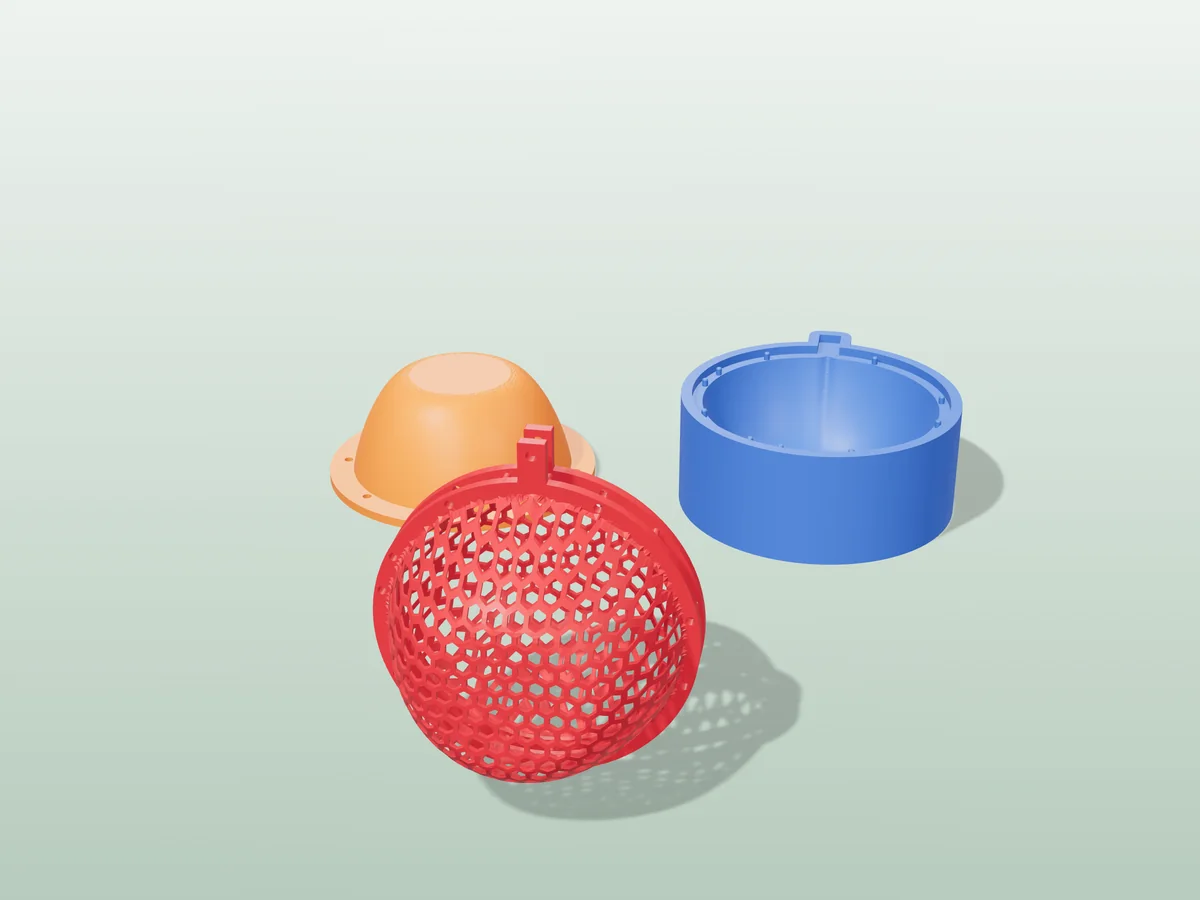
- Screw cap: a threaded neck at the top, half on each net, a screw-on cap with a hanging loop, and a clip at the bottom. The most shop-bought look, but also the newest and least proven closure, so use pins for your first one.
With pins or magnets, thread a ribbon, fishing line or an ornament hook through the 3 mm hanging hole. A printed ornament of this size weighs around 15 g, light enough for the thinnest branch tip.
Problems
The mesh tore over the dome
Cause Too deep for the outline, or part of the mesh was still cold when the plug went in.
Fix Lower the depth or raise the mesh thickness until the sidebar stops warning, and warm longer from further away so the heat reaches the middle evenly.
The two halves gap at the seam
Cause A rim that was heated, or lifted out of the press warm, and bent as it cooled.
Fix Aim at the middle of the net only, and hold the plug down until the rim is cold to the touch. Reprint the net; a bent rim rarely straightens.
The net will not drop into the pocket
Cause The pocket is only a few tenths of a millimetre bigger than the rim, so a squashed first layer (elephant's foot) on the net can be enough to stop it.
Fix Trim the bottom edge of the rim with a craft knife, and turn on your slicer's elephant foot compensation for the next net.
The points of my star stayed flat
Cause The points are too narrow for the press to rise in.
Fix Round the points in your artwork, or start from the built-in star, which is drawn that way.
Heat-formed mesh prints
All free designs →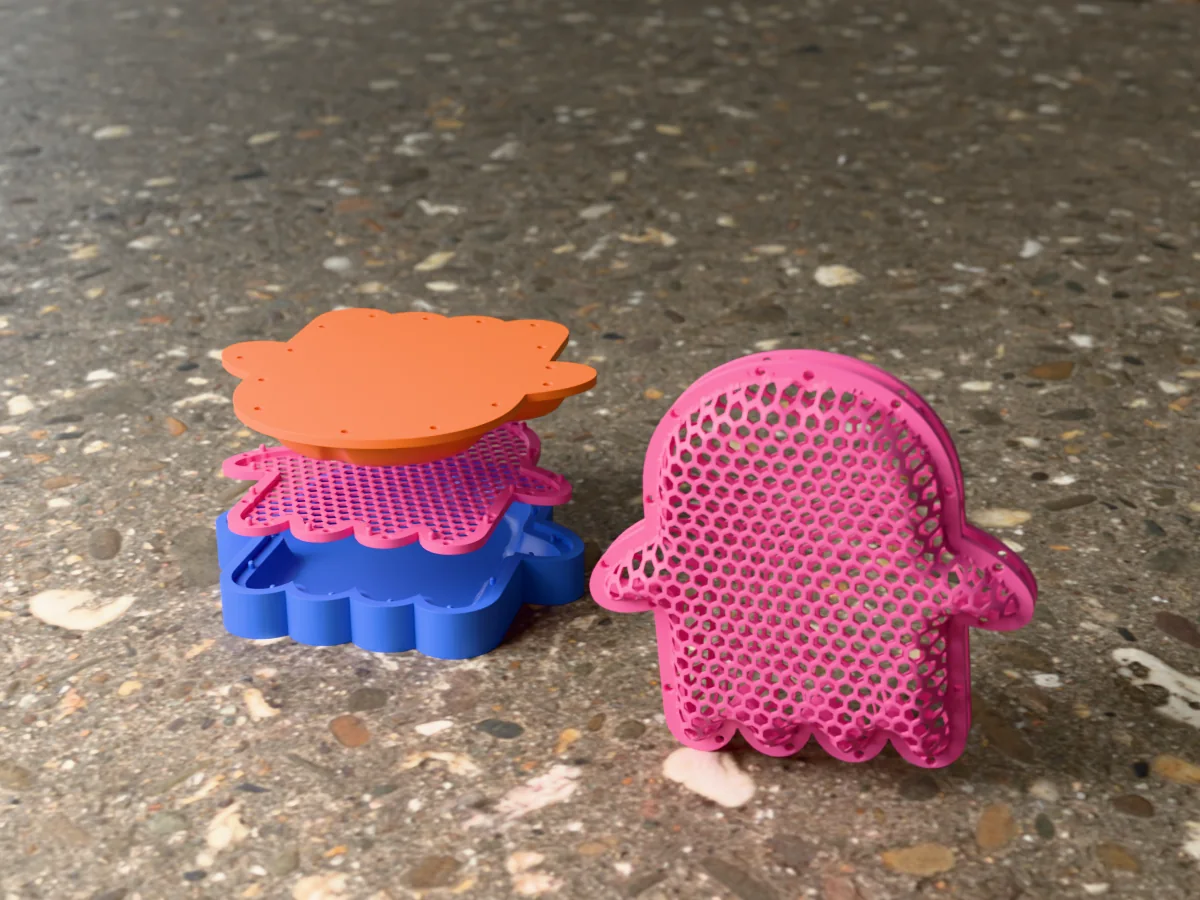
FAQ
Can you 3D print a Christmas ornament without supports?
Yes. Flat ornaments, vase-mode baubles and solid half-spheres all print without supports. An open lattice ball is the hard case, because the struts near the top of the curve have nothing under them. Printing the lattice flat and forming it with heat afterwards removes that problem: at the printing stage it is a sheet a few layers tall.
Should I print mesh ornaments in PLA or PETG?
PETG if you have it. It softens around 80 C over a wide window, stretches well and stays tough. PLA softens around 60 C, so even a hair dryer forms it, but the window is narrow: too cold and it cracks, too hot and it sags. Silk PLA is PLA underneath and behaves the same way. The press can be plain PLA either way.
How big should a 3D printed ornament be?
70 to 100 mm across is the classic bauble size and the easiest range to start in. Our free ball ornament closes to 85 mm across and the star to 100 mm point to point. Much smaller and the solid rim takes up a large share of the outline, leaving little mesh to form.
Can I make a mesh ornament from my own drawing or logo?
Yes, if it reads as one bold silhouette. Upload a PNG, JPG or SVG to the mesh former and it traces the outline, then builds the nets and the press from it. A dark shape on a plain background traces cleanly; a low-contrast photo does not, and thin parts such as legs or antlers trace as slivers of solid rim with no mesh in them.
Can I put a light inside a mesh ornament?
Yes, a battery LED fairy light or a coin-cell LED. Pick the magnet closure if you want to open it again to switch the light off or change the battery. Keep printed ornaments away from old incandescent tree bulbs, which can get warm enough to soften PLA.
How long does a mesh ornament take to print?
In our slicer runs for an 85 mm ball, each net took about 70 minutes and 8 g of filament at older Prusa MK3S speeds, and the plug and cavity about 90 g of PLA and several hours. The press is printed once per shape and size, so every ornament after the first costs only the two nets.
Made by meshcast.app. Hung one on your tree? Send a photo, I'd love to see it.