Mold box generator: a printable silicone mold box from any STL
This guide was drafted with AI assistance.
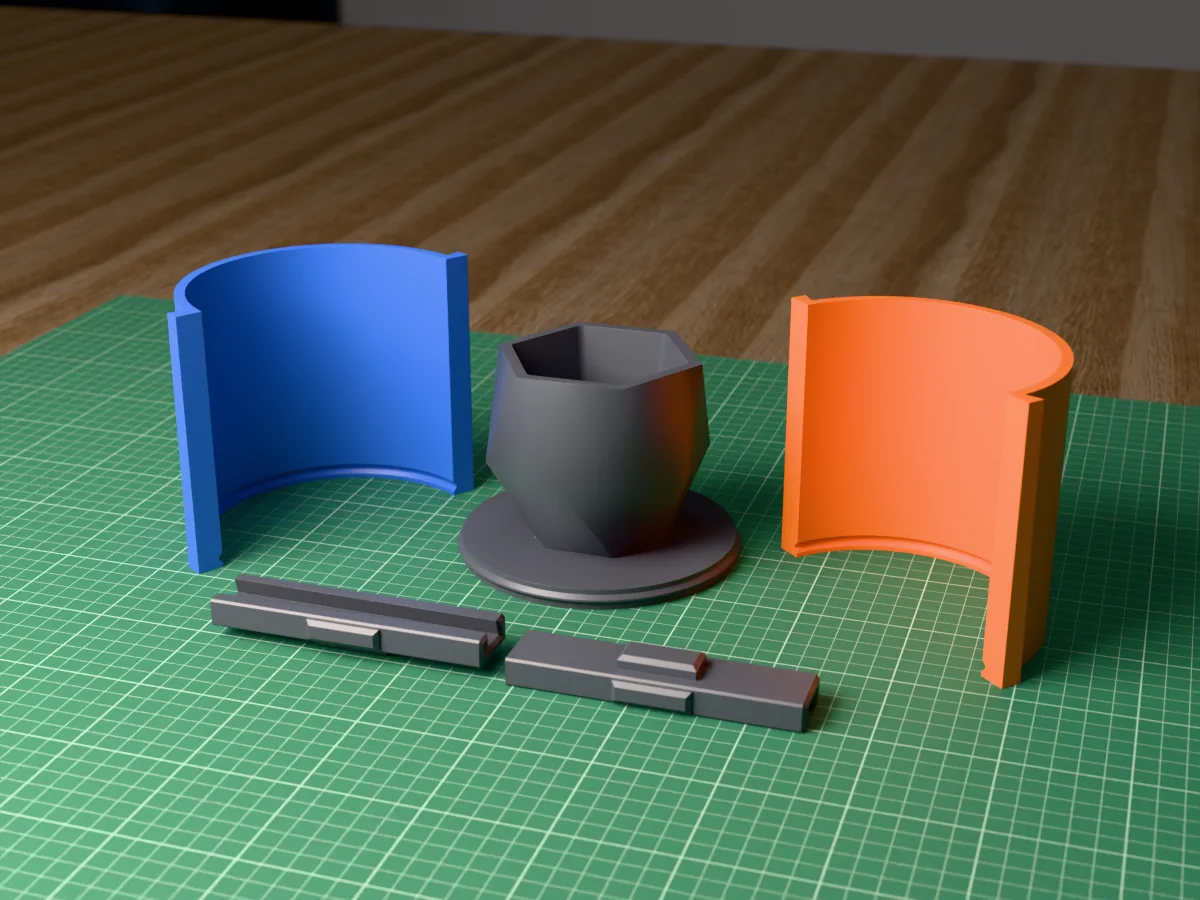
A mold box is the rigid formwork you pour silicone into, not the mold itself. Build one around your master, pour silicone into the gap, let it cure, break the box away, and you have a flexible silicone mold to cast from. Silicone mold maker (box mode) generates the box from your own STL, and Silicone mold maker (contoured mode) generates the version that hugs the model instead of boxing it, which is where the silicone saving is.
What a mold box actually is
The vocabulary trips people up, so it is worth being precise: the box is not the mold. The box is temporary tooling. It holds liquid silicone in the right shape around your master while the silicone cures, and then it comes off and you throw it away or reuse it. The mold is the cured silicone.
Traditionally the box is four bits of foam board or LEGO taped together, and the master is stuck to the base with clay. That works, and it is what most tutorials show. It also means the box is a rectangle, so the silicone fills every empty corner between your model and four flat walls, and on anything that is not itself roughly a brick, most of what you pour never touches the part.
Generating the box is what changes that. A generated box is sized from your actual model rather than from a ruler, it comes out watertight and square without taping, and the software can tell you the volume before you buy anything.
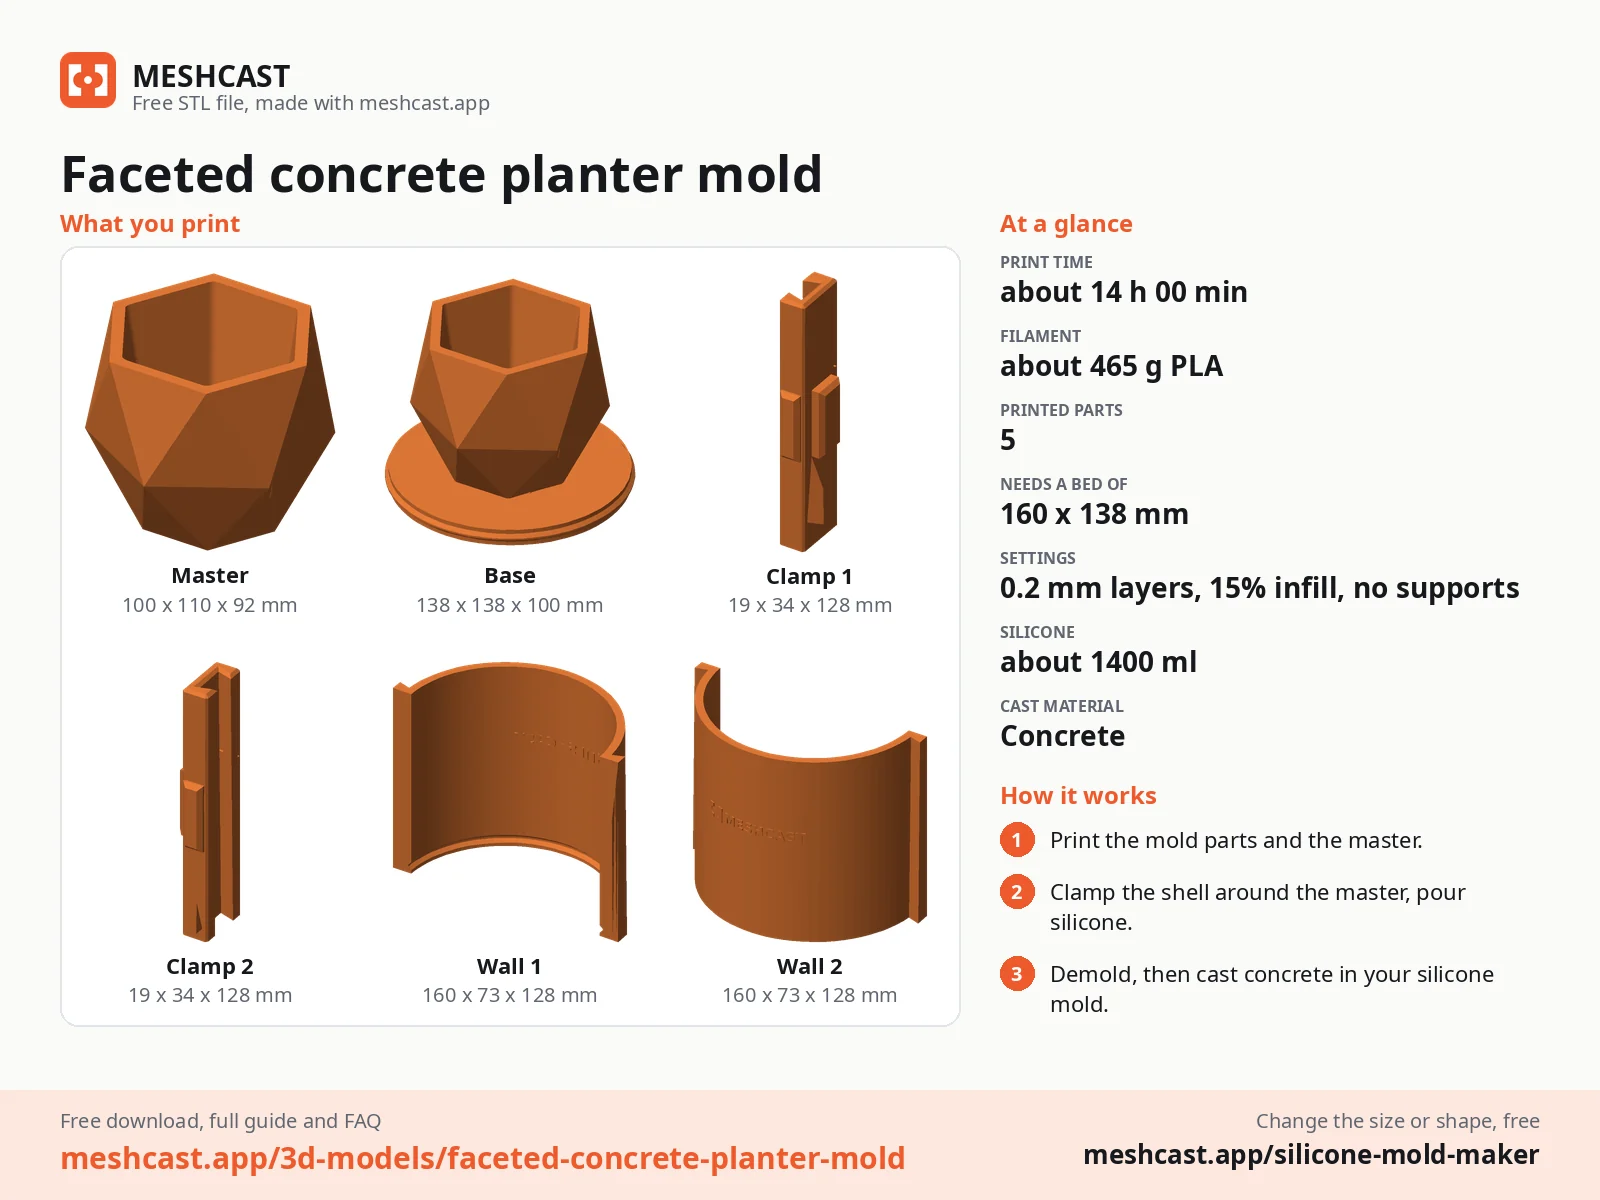
How big to make it
Three numbers decide a mold box, and only one of them is a real judgement call.
| Dimension | Rule of thumb | Why |
|---|---|---|
| Side clearance | 10 to 15 mm of silicone around the master | Under about 8 mm the mold wall flexes too much to hold detail when you demold. Over 20 mm you are buying silicone that does no work |
| Headroom | 10 to 20 mm above the highest point | Gives you a flat pour surface and something to grip when opening the mold |
| Base | Wider for tall, narrow masters | A tall thin mold tips over while you pour. This is the judgement call, and it is what a generator gets right automatically because it can see the model's proportions |
The wall thickness of the printed box is a separate number and it does not need to be generous: 2 to 3 mm with 3 perimeters holds several kilos of silicone without bowing, because the silicone is not pressurised, it is just heavy.
Box or hugging shell
Box or hugging shell
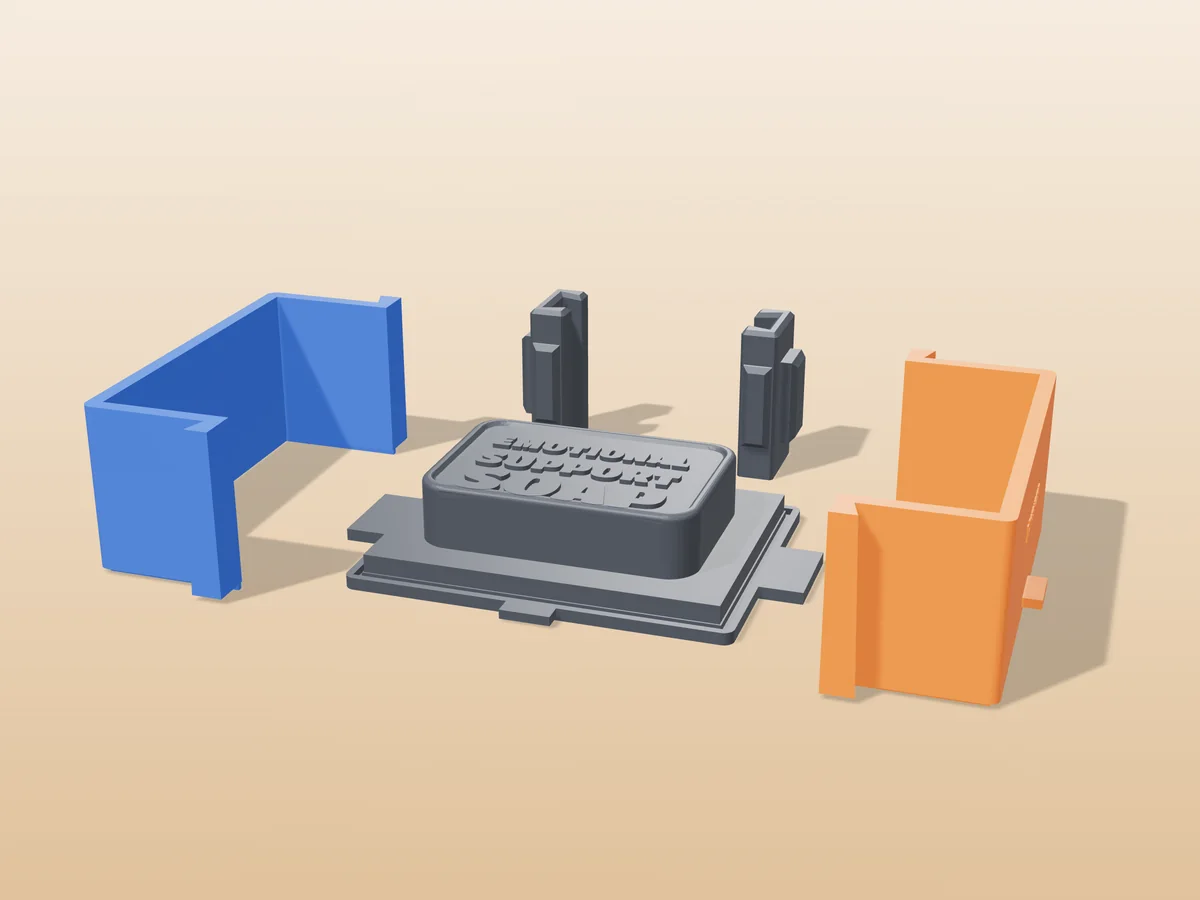
 Square boxThe easiest to print and clamp.
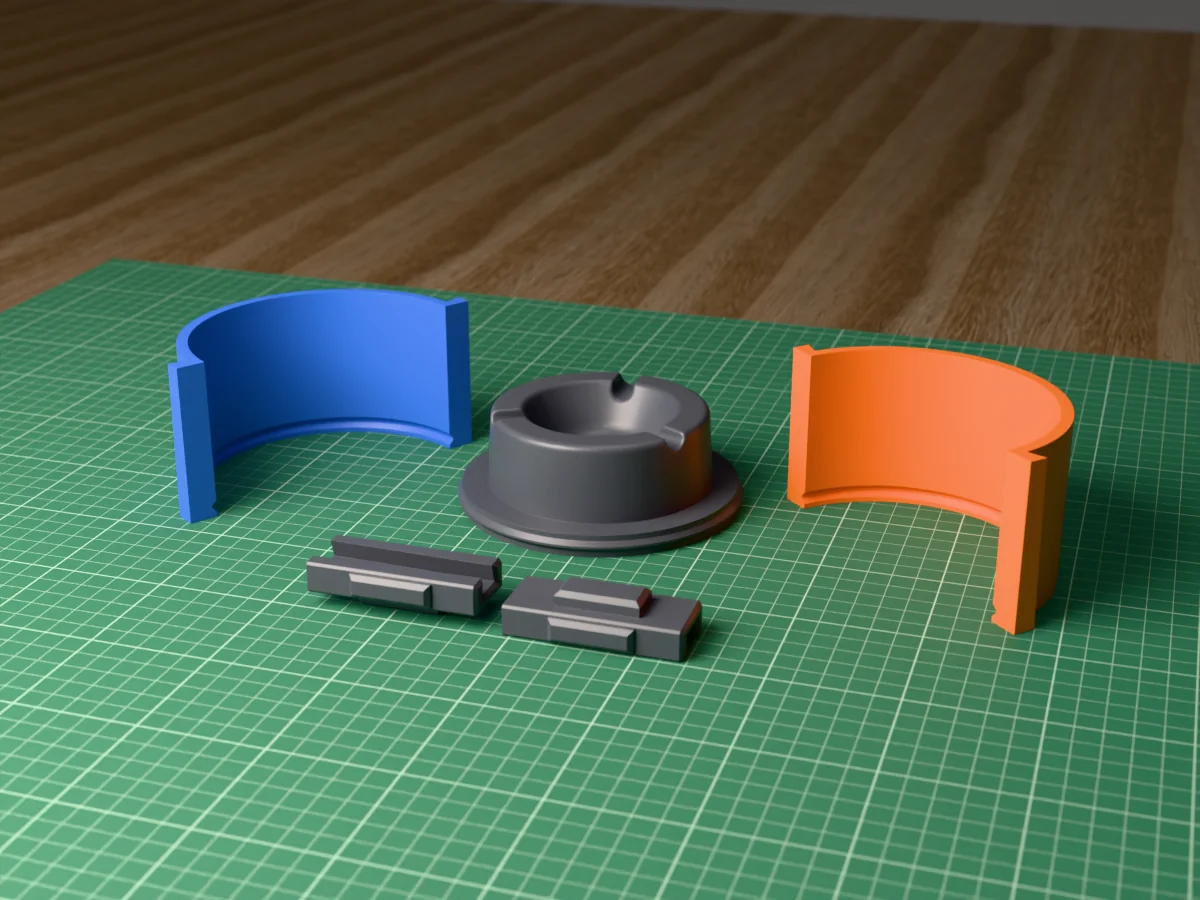
 Round boxA little less silicone than square.
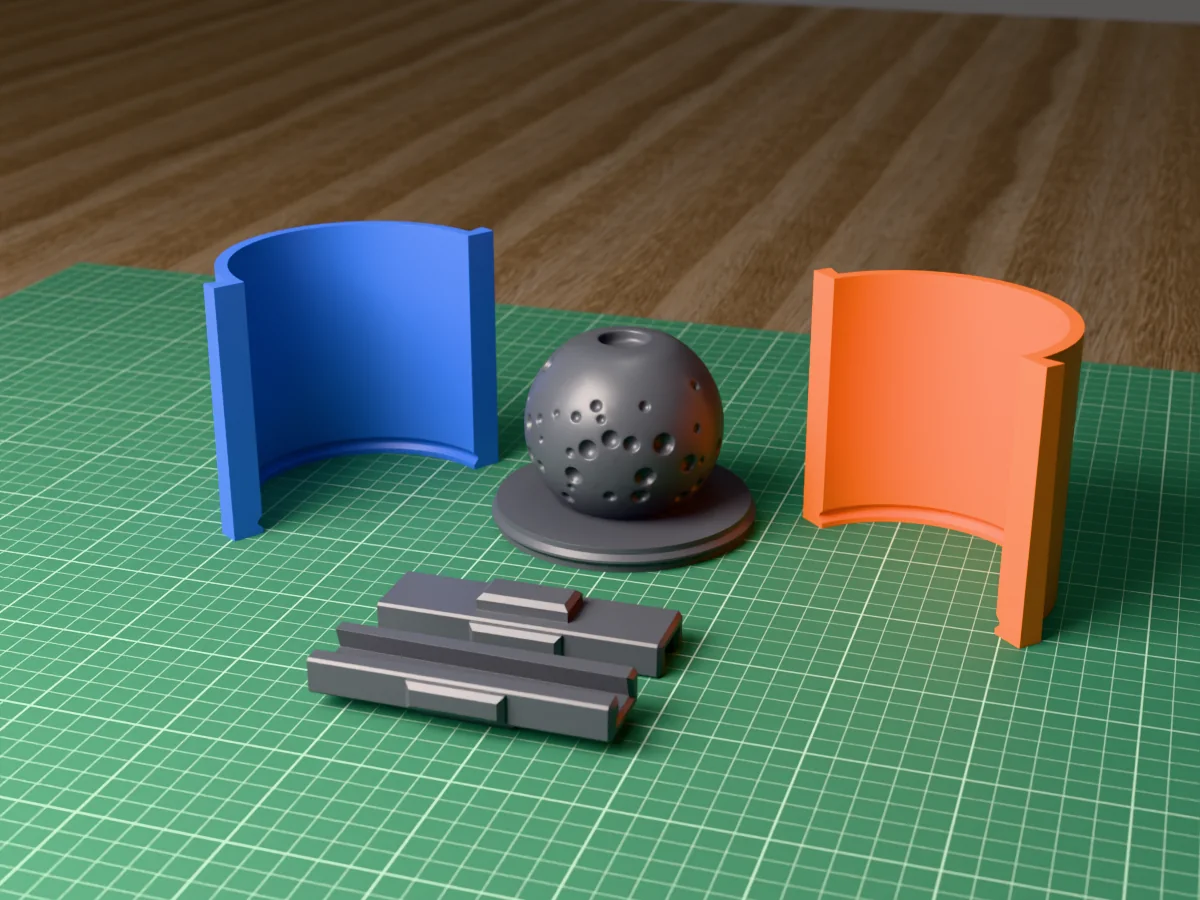
 Hugging shellWalls follow the model, so it takes less silicone.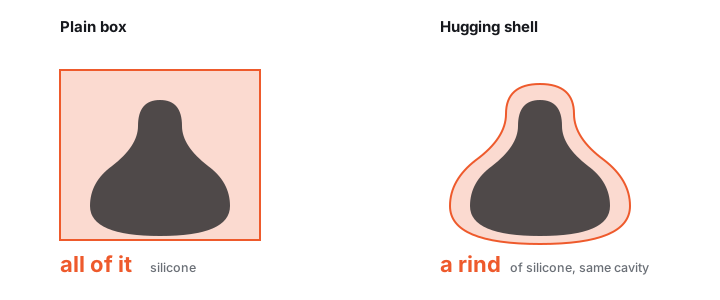
This is the decision that actually costs money, because silicone is the running cost of mold making and a box mold around a branching or slim model can spend most of its volume on air.
| Mold box | Hugging shell | |
|---|---|---|
| Best for | Models that roughly fill their own bounding box. Blocks, tiles, bars, squat shapes | Slim, tall or branching models. Figures, ornaments, anything with limbs |
| Silicone used | Everything inside the box that is not your model | Only the offset gap around the model |
| Complexity | Simplest thing that works. One piece, no clamps | Splits into 2 to 4 parts that clamp together |
| Tool | Silicone mold maker (box mode) | Silicone mold maker (contoured mode) |
Generate one from your model
Drop in the master
STL, OBJ and 3MF all work, and the uploader reads the file contents rather than trusting the extension, so a 3MF someone saved as .stl still opens.
Check the size readout
Every generator shows live model size in mm. A model exported in the wrong units arrives ten or a thousand times off, and this is where you catch it before it becomes a wasted print.
Set the clearance
This is the silicone thickness from the table above. The default is a sensible middle; raise it for a mold you will demold hundreds of times, lower it if the master is chunky and you are saving silicone.
Check the estimate before you print
The generator reports the volume the pour will need, so you can compare a box against a hugging shell, and against what is left in the bottle, before committing.
Export and print
STL or 3MF. The 3MF carries real per-part colour, so multi-part boxes land in your slicer already distinguishable instead of as one grey lump.
Printing and pouring it
Clamping it shut
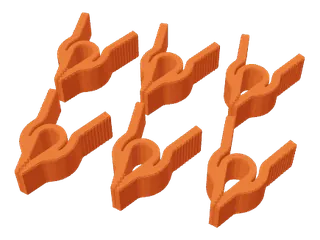
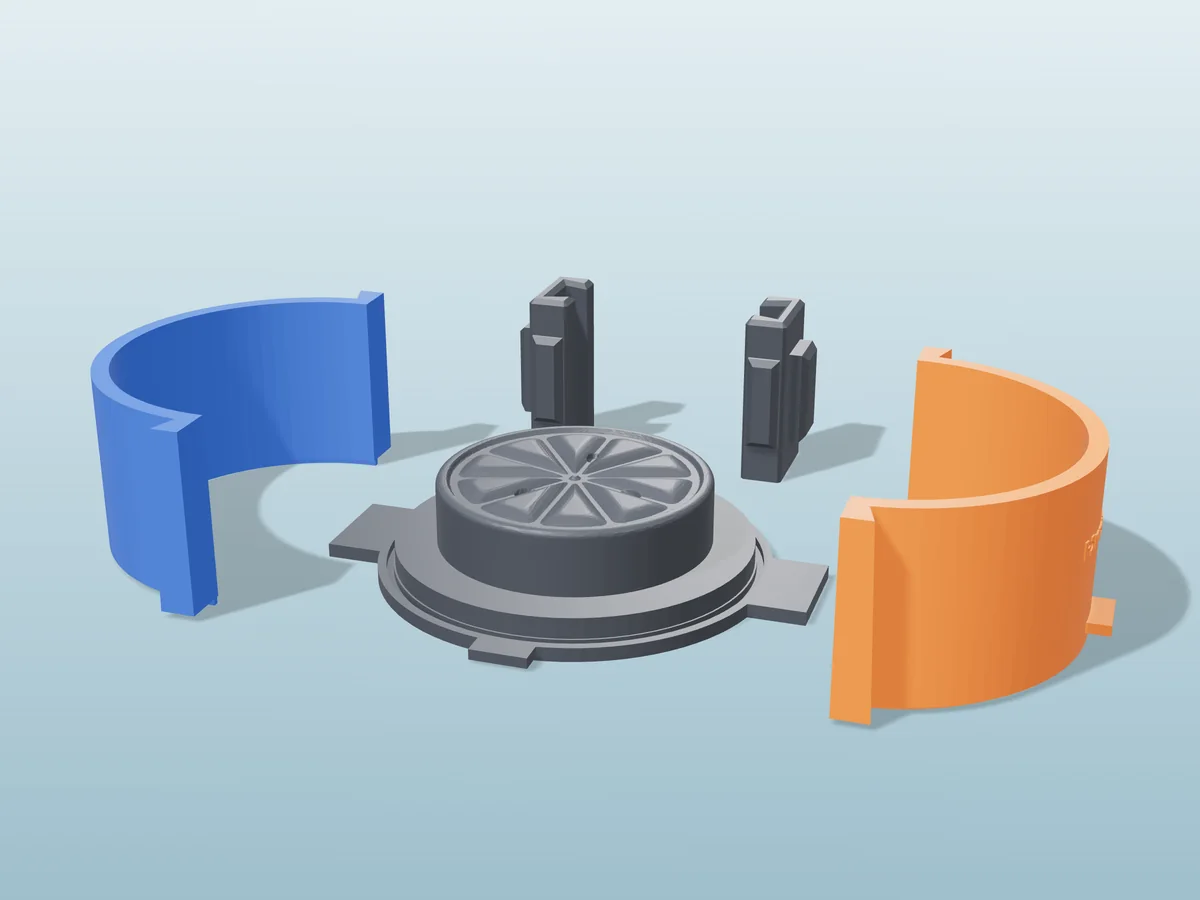
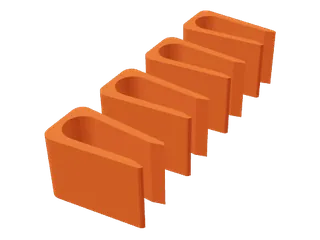 Spring clipPush-on clips. Simple and quick.
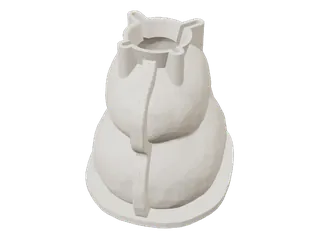
 Lever clampClicks in behind a ridge on the wings.
 Binder clipsLeave the printed clamps out and use steel clips.
- PLA or PETG, 3 to 4 perimeters, 20 to 30% infill. The box holds weight, not pressure.
- 0.2 mm layers are fine. The box's inside surface becomes the mold's outside surface, which nobody sees. Do not waste hours on a fine layer height here.
- Seal the seams. Uncured silicone finds every gap. Hot glue along the inside corners, or a wrap of tape around the outside, is enough.
- Mold release matters more than you think, especially on PLA. See mold release agents.
- Pour in a thin stream from one corner and let the silicone climb the model. Pouring straight onto the master is the main cause of trapped bubbles.
Full print settings, including what changes for a direct-print rigid mold instead of a silicone box, are in best print settings for molds.
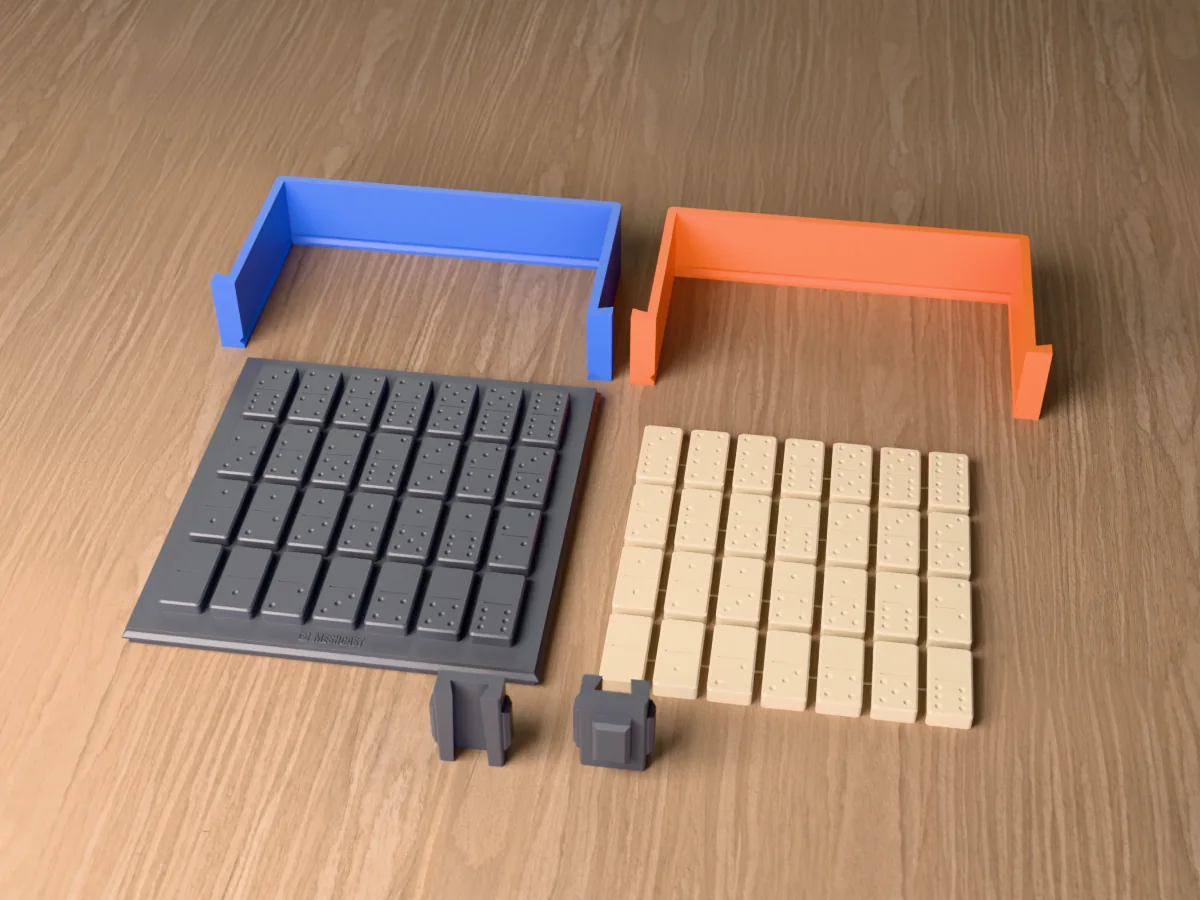
Mold boxes made with the generator
All free designs →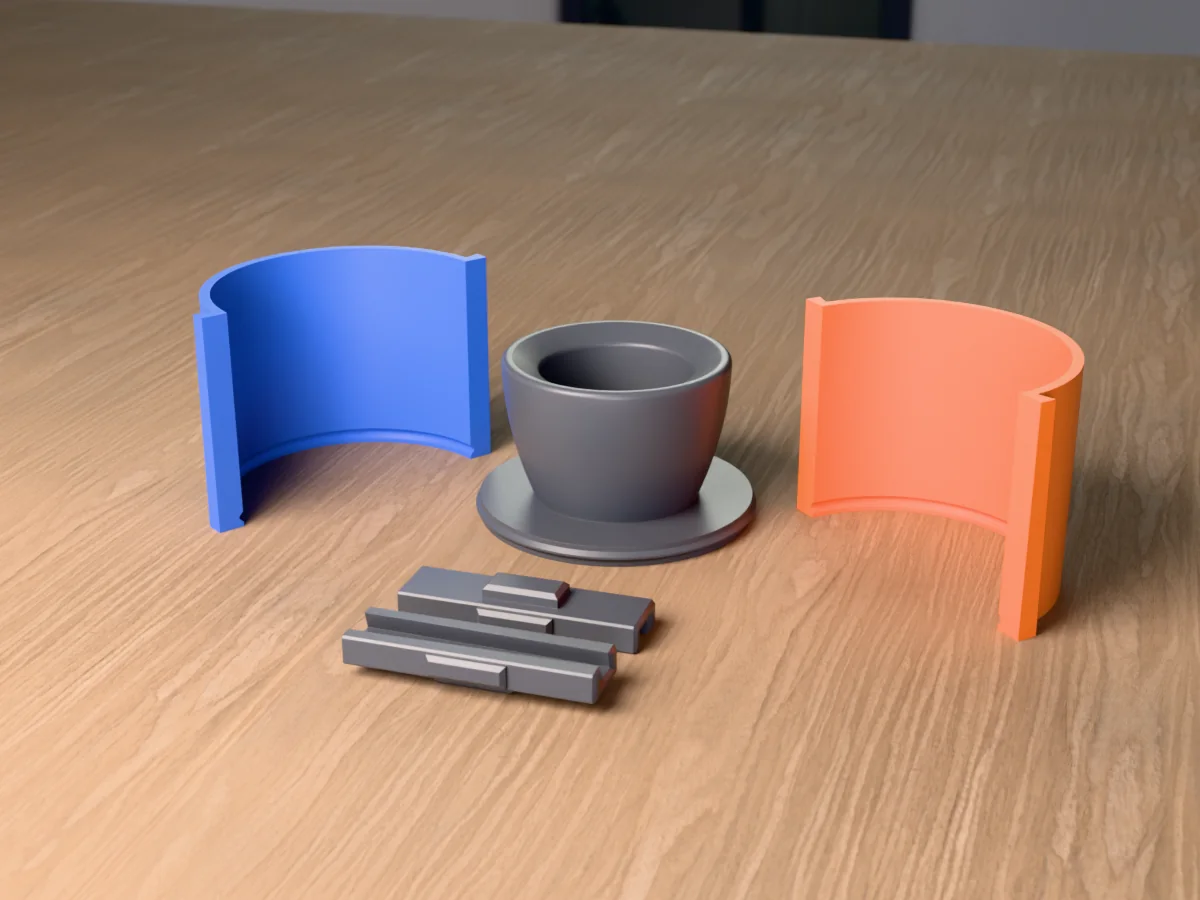
Questions
What is a mold box?
The rigid open-top container you place a master inside and pour silicone around. Also called formwork, a mold frame, or a containment box.
The part people miss The box is not the mold. It is temporary tooling that shapes the mold, which is why printing it in PLA is fine.
How big should a mold box be?
Roughly 10 to 15 mm of silicone on every side of the master, and 10 to 20 mm above its highest point.
Both limits are real Under about 8 mm the mold wall is too floppy to hold its shape when you demold. Over 20 mm you are paying for silicone that never touches the part.
Can I 3D print a mold box?
Yes, and that is the point: a printed box conforms to your specific model instead of being a generic rectangle, which is where the silicone saving comes from.
Settings PLA or PETG, 3 to 4 walls, 20 to 30% infill, 0.2 mm layers. Seal the inside seams before pouring.
How much silicone will it need?
The internal volume of the box minus the volume of your master. The generator estimates it before you print, so you can check it against what is left in the bottle.
When a box is wasteful Slim, tall or branching models. A box pays for every empty corner, and on a figure that is the difference between a few hundred grams and a few kilos. That is what Silicone mold maker (contoured mode) exists for.
Mold box or two-part mold?
Mold box Formwork you pour silicone into. The finished mold is flexible, so it releases undercuts and fine detail a rigid mold physically cannot.
Two-part mold The printed part IS the mold: two rigid halves with keys and a pour hole, and you pour wax, resin or plaster straight in. Cheaper and faster, no silicone to buy.
The decision guide settles it in two minutes if you are unsure.
Made by meshcast.app. Got stuck? Email a photo and I'll help you debug.